You have seen the quick guide and Vi cheat sheet download in an earlier post. In this article, we’ll see all the basic Git commands you need to get started with it.
Basic git commands at a glance
Here are the essential git commands you must now:
Create Directory (Local System)
| Purpose | Command |
|---|---|
| New Directory inside Home | cd ~/directory_name |
| New Git Repository | git init |
| Add a single file | git add <file_name> |
| Add all files | git add --all |
| Clone into a remote | git clone <link> |
Check Status
| Purpose | Command |
|---|---|
| Show changed files | git status |
| Show difference in changed files | git diff |
| Show the log files | git log |
Dealing With Branches
| Purpose | Command |
|---|---|
| Create a new branch and stay in current | git branch <brname> |
| Create a new branch and switch | git checkout -b <brname> |
| Switch to an existing branch | git checkout <brname> |
| Delete and existing branch | git branch -d <brname> |
Revert Changes
| Purpose | Command |
|---|---|
| Revert a particular commit by its ID | git revert <commit id> |
| Revert all commits | git reset --hard <first-commit-id> |
| Revert the last change | git revert HEAD |
| Fix the last commit | git commit --amend |
Publish Your Changes
| Purpose | Command |
|---|---|
| Commit your local changes with a commit message | git commit -m “Update” |
| Commit your local changes (Edit Separate Message) | git commit -a |
| Push changes to your repo | git push -u origin <brname> |
| Create patch files for commits in current branch | git format patch origin |
| For any help | git --help |
Download free git cheatsheet
If you like, you can download these basic Git commands as a quick reference guide from the link below:
In the next section, I'll show examples of the most common git commands.
Basic git commands with example
Till now, you saw the basic git commands and learned their purpose. It's time to see them in action.
Setup Git
After Git is installed, whether from apt or from the source, you need to copy your username and email in the gitconfig file. You can later access this file at ~/.gitconfig.
You can use the follow commands to add in the required information. Replace ‘User’ with your username and ‘[email protected]’ with your email.
git config --global user.name "User"
git config --global user.email [email protected]
Now you can open it using vim editor or any of your favourite text editors.
sudo vim ~/.gitconfigAnd you are done with setting up. Now let’s get started with Git.
Repository
Create a new directory, open it and run this command:
git init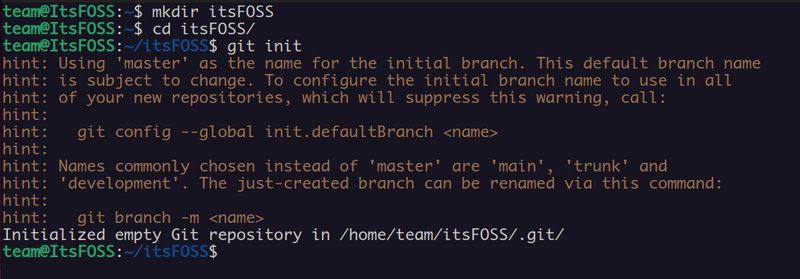
This will create a new git repository. Your local repository consists of three “trees” maintained by git.
First one is your Working Directory which holds the actual files. Second one is the Index which acts as a staging area and finally the HEAD which points to the last commit you’ve made.
Checkout your repository (repository you just created or an existing repository on a server) using:
git clone /path/to/repositoryAdd files and commit
You can propose changes using:
git add <filename>Where “filename” is an existing file. This will add a new file for the commit. If you want to add every new file, then just do:
git add --allYour files are added check your status using
git status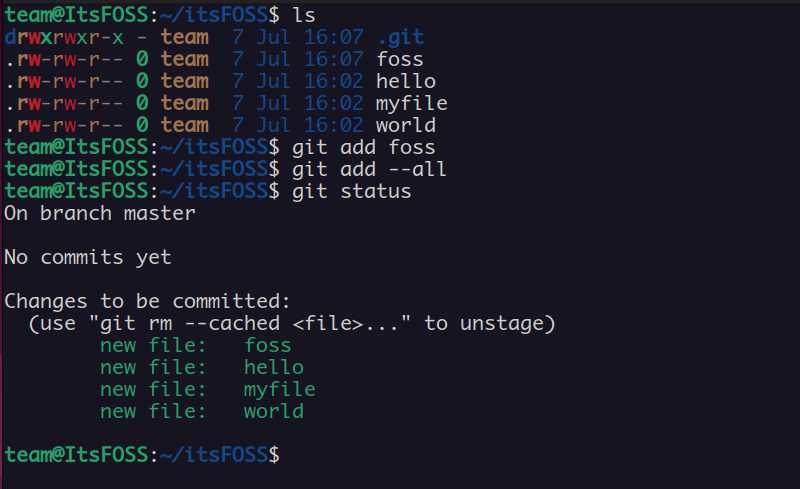
As you can see, there are changes but they are not committed. Now you need to commit these changes, use:
git commit -m "Commit message"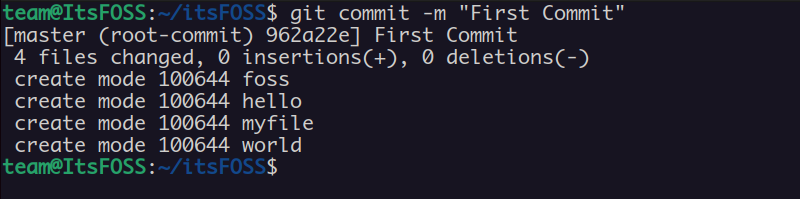
You can also do (preferred):
git commit -a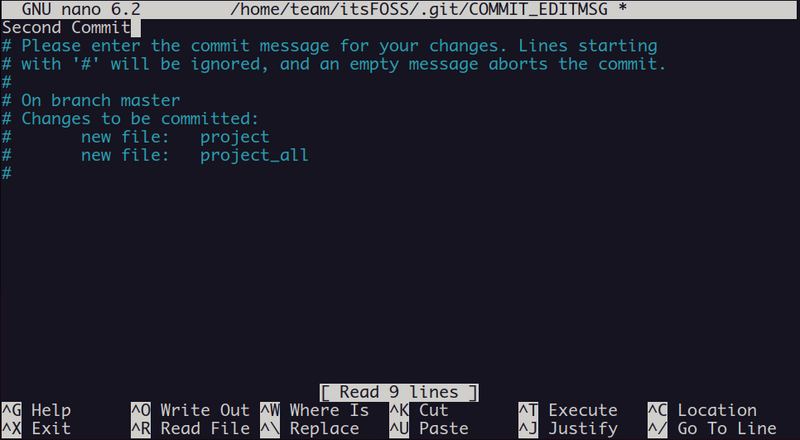
And then write your commit message. Now the file is committed to the HEAD, but not in your remote repository yet.
Push your changes
Your changes are in the HEAD of your local working copy. If you have not cloned an existing repository and want to connect your repository to a remote server, you need to add it first with:
git remote add origin <serveraddress>Now you are able to push your changes to the selected remote server. To send those changes to your remote repository, run:
git push -u origin masterBranching
Branches are used to develop features which are isolated from each other. The master branch is the “default” branch when you create a repository. Use other branches for development and merge them back to the master branch upon completion.
Create a new branch named “mybranch” and switch to it using:
git checkout -b mybranch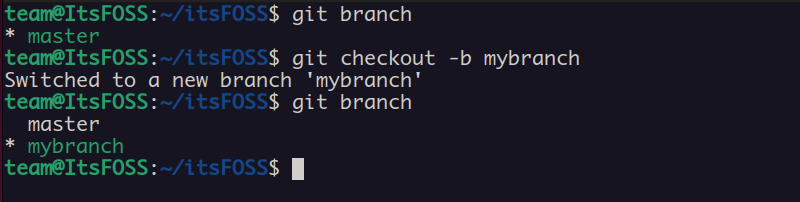
You can switch back to master by running:
git checkout masterIf you want to delete the branch use:
git branch -d mybranch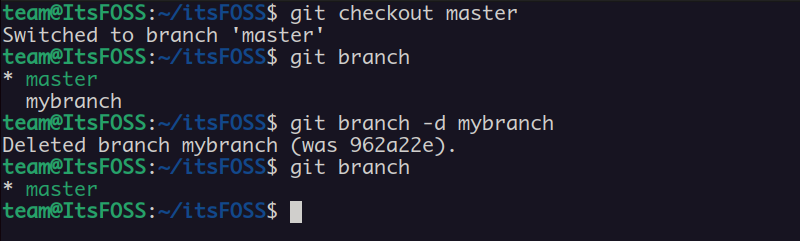
A branch is not available to others unless you push the branch to your remote repository, so what are you thinking about just push it:
git push origin <branchname>Update and Merge
To update your local repository to the newest commit, run:
git pullIn your working directory to fetch and merge remote changes.
To merge another branch into your active branch (e.g. master), use :
git merge <branch>In both cases, git tries to auto-merge changes. Unfortunately, this is not always possible and results in conflicts. You are responsible for merging those conflicts manually by editing the files shown by git. After changing, you need to mark them as merged with:
git add <filename>Before merging changes, you can also preview them by using
git diff <sourcebranch> <targetbranch>Git log
You can see the repository history using:
git logTo see a log where each commit is one line you can use:
git log --pretty=oneline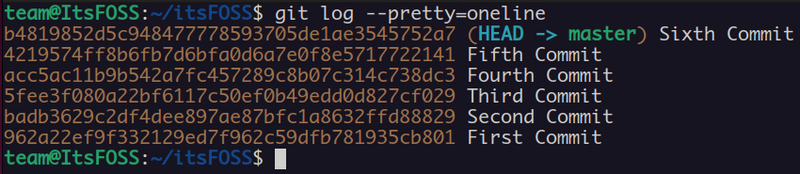
Or maybe you want to see an ASCII art tree of all the branches, decorated with the names of tags and branches:
git log --graph --oneline --decorate --all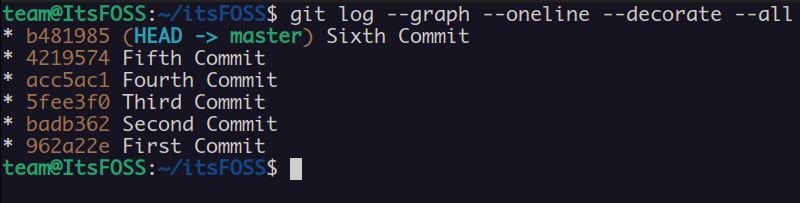
If you want to see only which files have changed:
git log --name-statusAnd for any help during the entire process, you can use git --help
Congratulations, you are done with the basics of git. Isn’t Git awesome!!
🗨️ Questions? Suggestions? The comment section is yours.