There are ways to get hardware information about your system in Linux. And the majority of them are command-line based solutions like inxi.
As a desktop Linux user, if you feel more comfortable with a graphical application, let me tell you about a tool that you can use to get information about your system hardware.
The tool is called Hardinfo2 (short for hardware information). It is a system profiler and benchmark for Linux systems. It displays hardware (and some software) information in a neat GUI tool.
Install Hardinfo on Ubuntu and other Linux distributions
If you are using Fedora, Hardinfo2 is available in the official repositories. Install it using the command:
sudo dnf install hardinfo2
In Ubuntu 24.04, Hardinfo2 is not available in the official repo, where it is still the old Hardinfo.
In all other distributions, including Ubuntu, you can use the deb file from the official releases page to install Hardinfo2.
Once downloaded, you can install it from the deb file with a little effort.

Alternatively, you can use the command below to install Hardinfo2, where <path-to-downloaded-file.deb> has to be replaced with the actual path of the downloaded deb file.
sudo apt install <path-to-downloaded-file.deb>
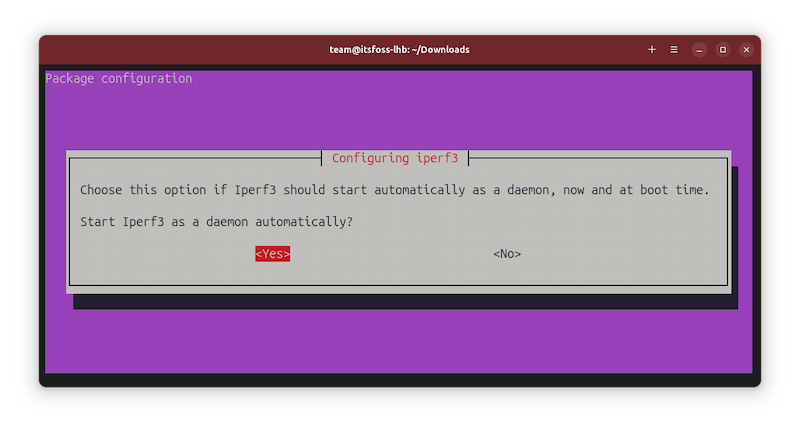
This will ask whether you want to start iperf3 at the boot time. iperf3 is used to benchmark internal network speed. You should choose Yes.
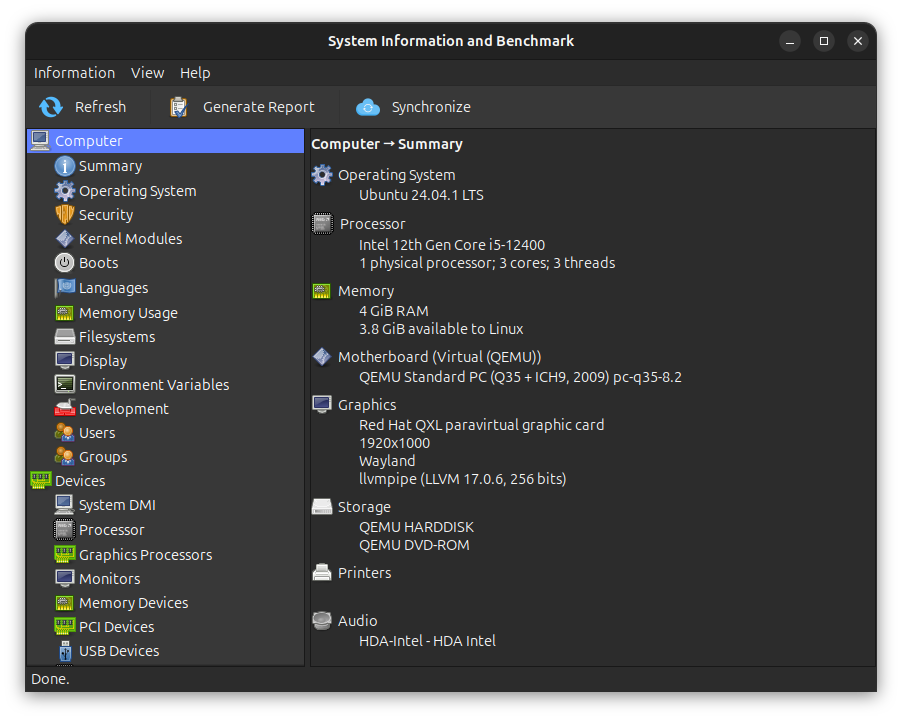
Using Hardinfo to get hardware information on Linux
Once installed, you can start the application by looking for it in the menu:

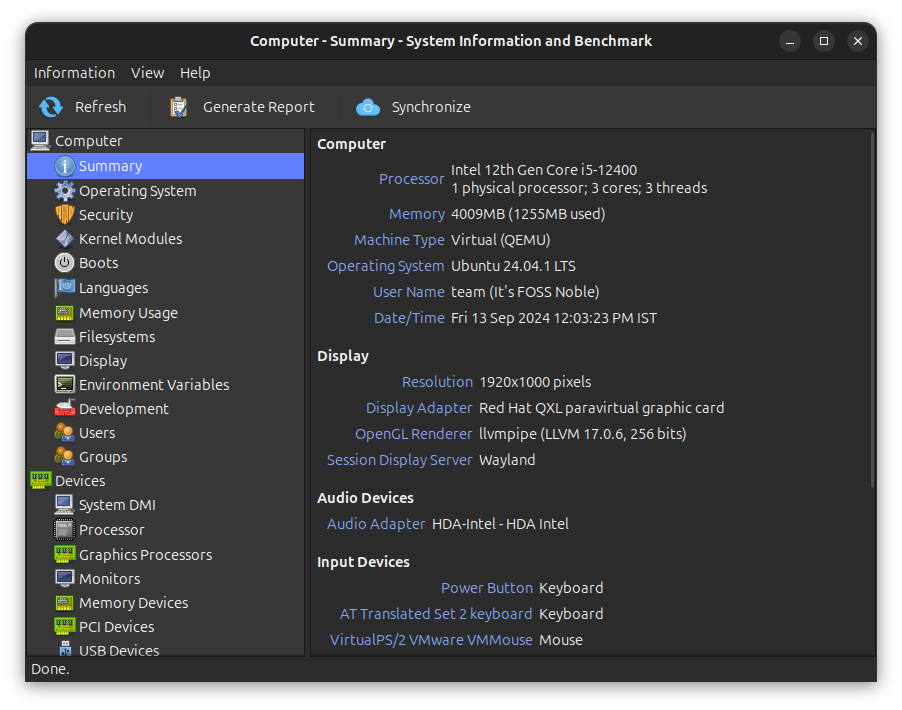
Here, you should see various parameters in the left sidebar and if you choose them, you can see related information on the right side.
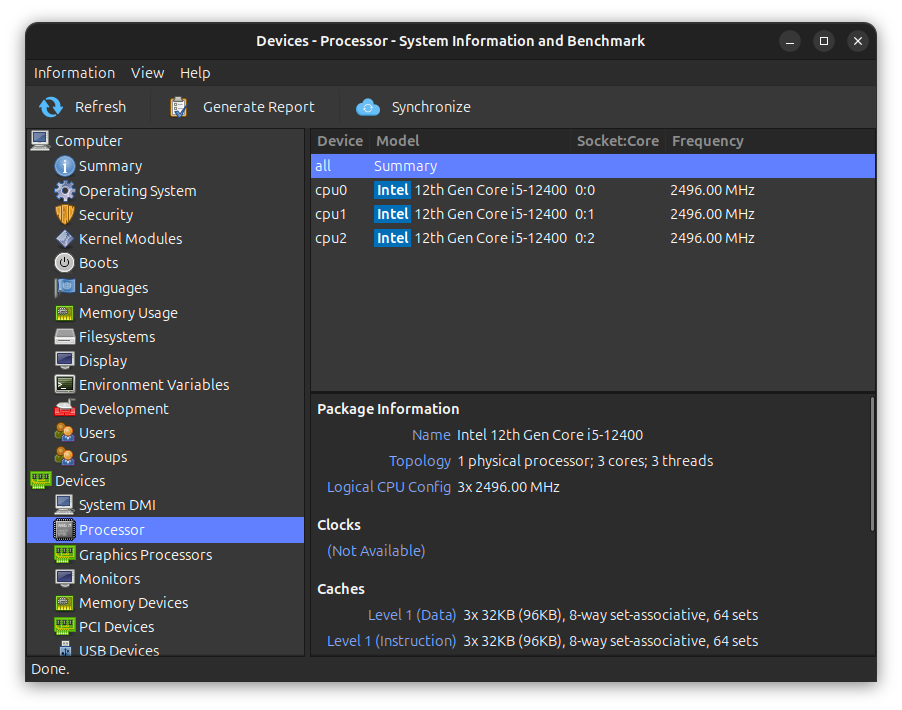
For example, you can see the processor information:
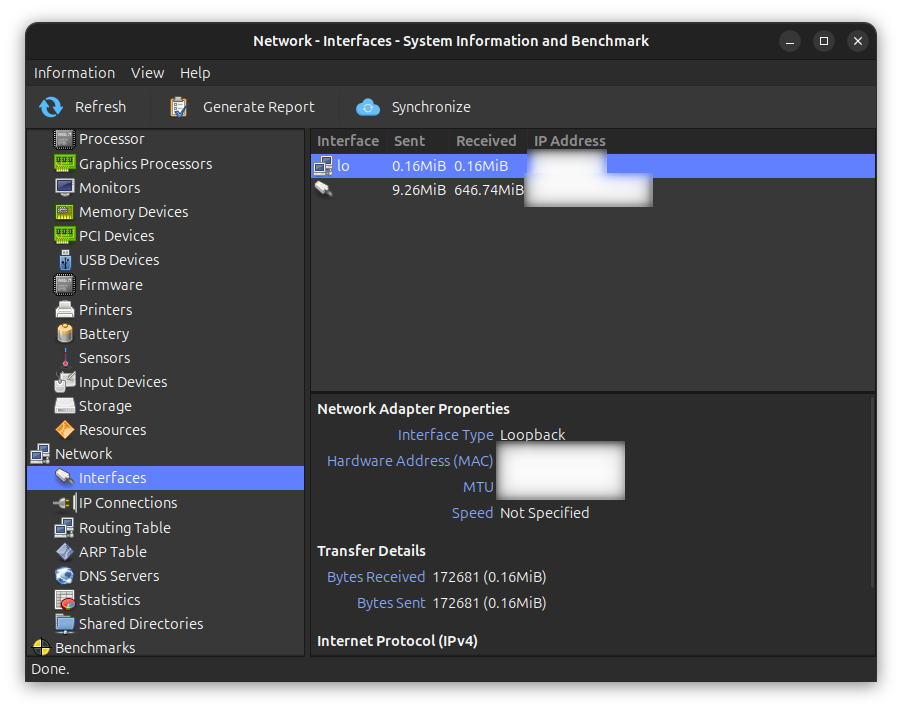
You can see what networking interfaces are available for your system:
You may also check the CPU temperature among other things:
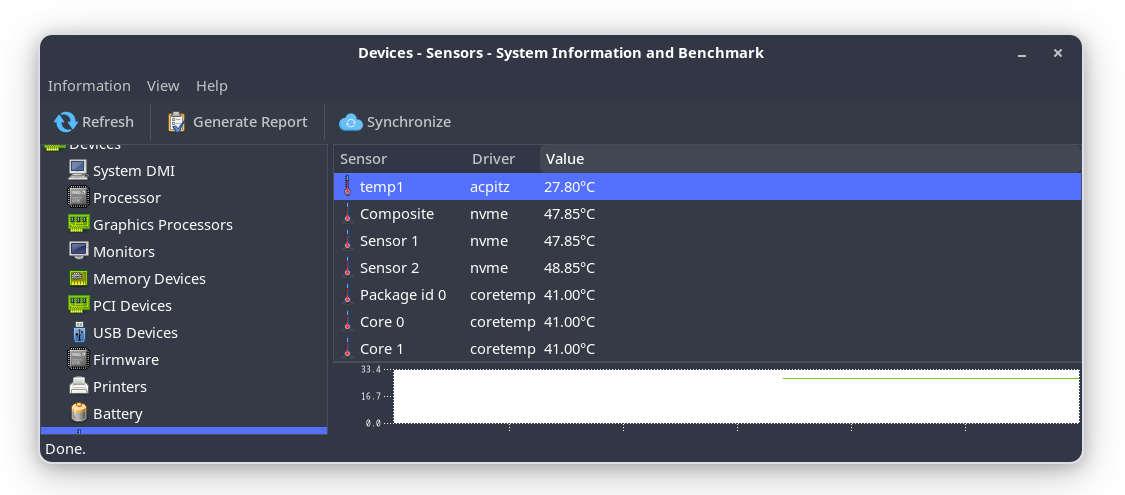
You can also check SSD temperature with it.
Generate a benchmark report
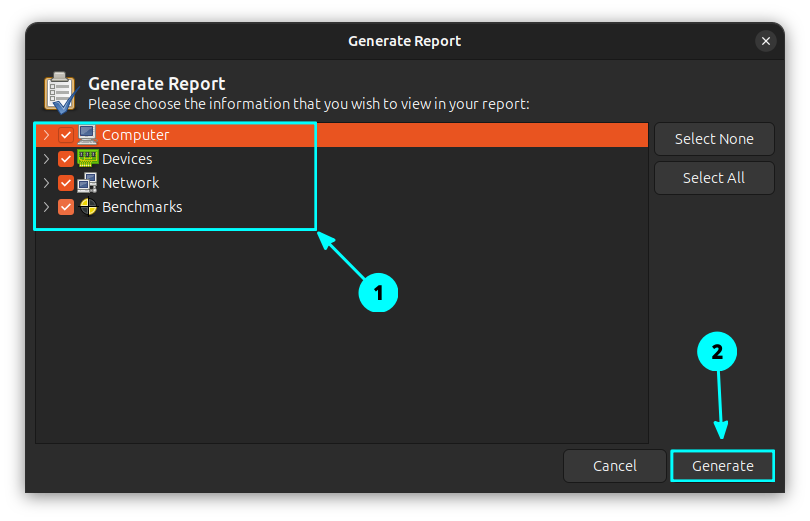
With Hardinfo2, you can benchmark your system and create a comprehensive report. For this, click on Information → Generate Report.

This will ask you to select what items are to be included in the report. Check on uncheck the items and then click on Generate.
In the next window, you will be asked to enter a name for the file. Give it and hit save to create a report in HTML format.
This will perform some benchmark tests. You should not move your mouse or press any key until the actions are completed. This will be notified to you.
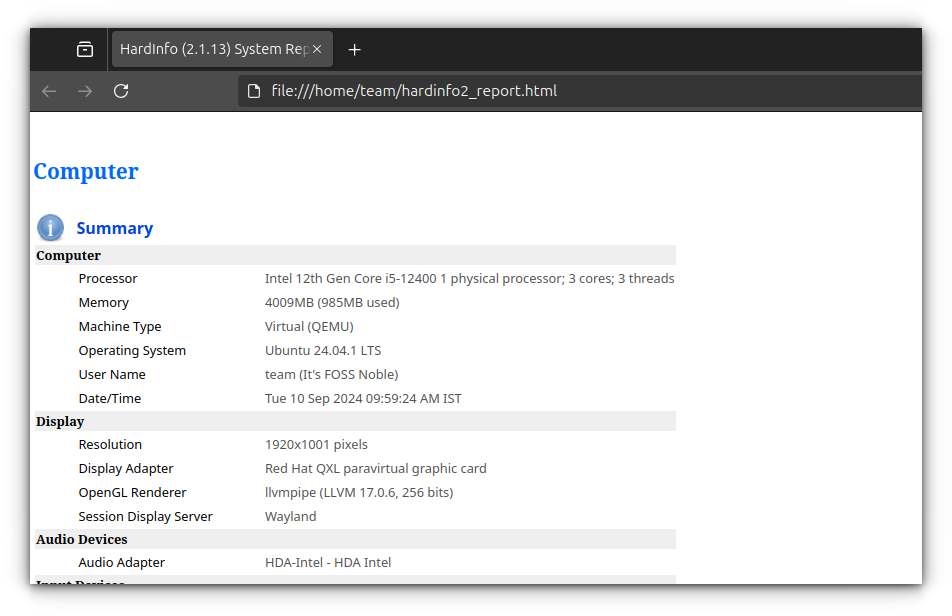
Once all checks are done, you can view the report in a browser.
Bonus: Change the appearance of Hardinfo2
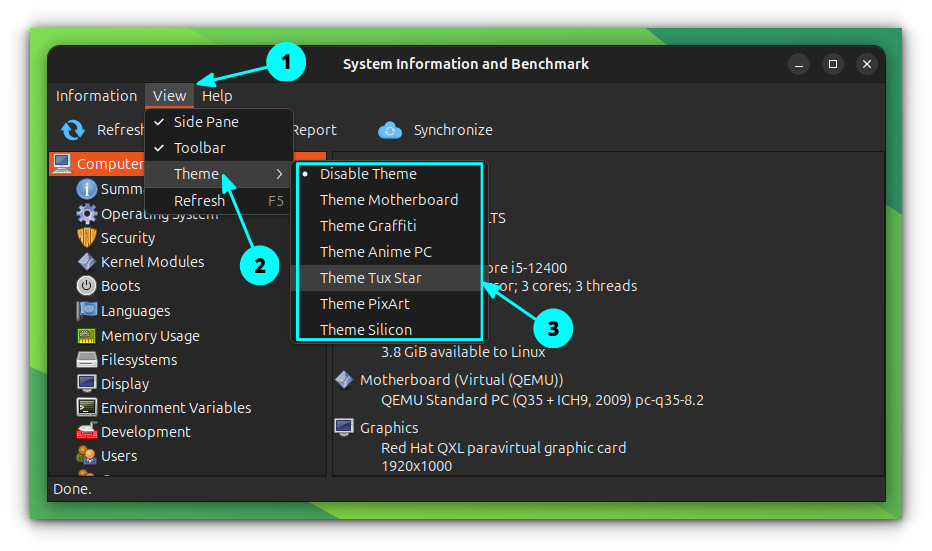
Hardinfo2 allows you to change the background appearance of the window. It has some selected appearance settings. Click on View → Theme → Select Theme.
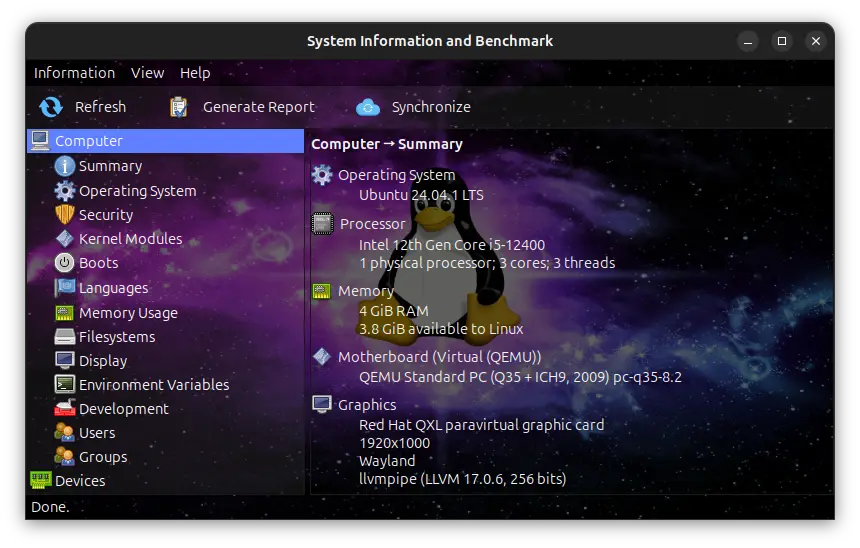
Here is the look, when Tux Star theme is applied:
Conclusion
All this information can be found on the command-line, specially from the /proc directory. But it is always good to have a tool that gives you all this information in one user-friendly interface. Don’t you think so?