
It is probably a good idea to stick with the default system image viewer unless you want a specific feature (that’s missing) or if you crave for better user experience.
However, you may try out different image viewers if you like to experiment. You could end up loving the new user experience of viewing the images or get hooked on the extra features offered.
This article has mentioned every kind of image viewer ranging from the simplest to the most advanced tool available for Ubuntu or any other Linux distro.
Best Image Viewers for Linux
1. Nomacs
What’s good about it?
- Simple & Fast UI
- Image adjustment tools (color & size)
- Geolocation of the image
- Metadata information panel
- LAN Synchronization
- Fullscreen mode
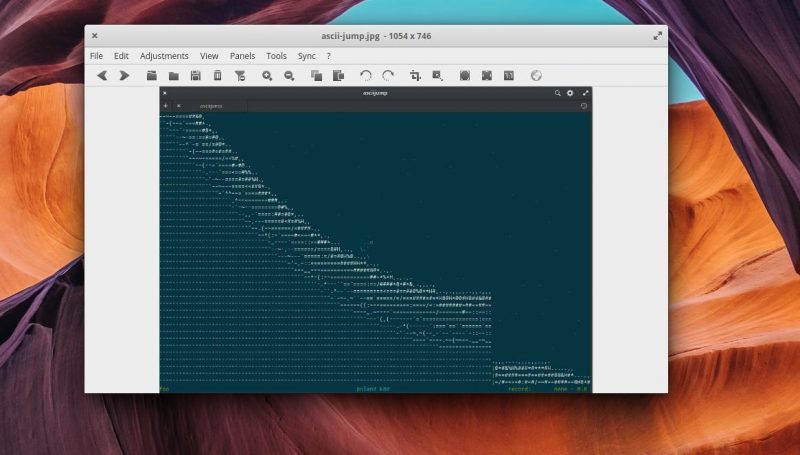
Nomacs is a free and open source image viewer that does not come baked with any fancy features. However, Nomacs does support most of the common image file formats if you want to use it.
The user interface is very simple but it does offer some essential features for image adjustment (color, brightness, resize, crop, & cut). In addition to that, it also supports fullscreen mode, histogram, and a lot of different panels that you can toggle for metadata, edit history, and more such information.
How do I install it?
You can find it listed in the software center/AppCenter for easy installation. If you want to install it via terminal, you can take a look at their GitHub page or type in the command below:
sudo apt install nomacs2. Eye Of Gnome
What’s good about it?
- A dead simple image viewer
- Slideshow style (if that’s what you like)
- An image viewer tailored for the GNOME desktop environment
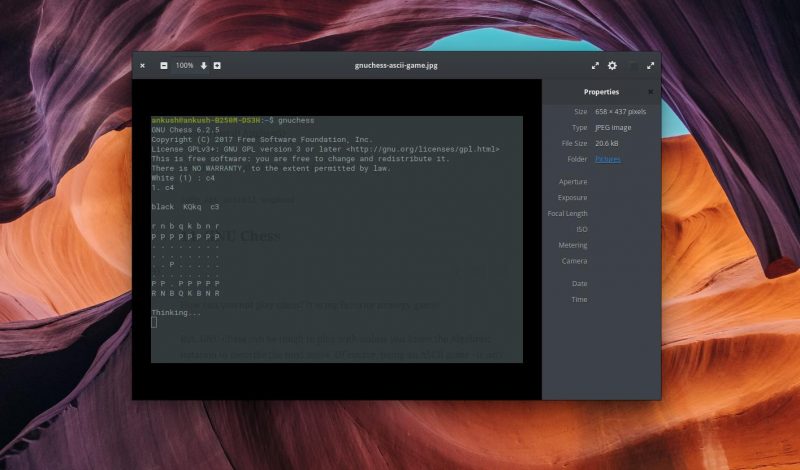
eog is a classic image viewer developed as a part of The GNOME Project a lot of years ago. Do note that this isn’t actively maintained anymore. But it still works on Ubuntu’s latest LTS release and several other Linux distros.
If you want a dead simple image viewer where you browse through the images in a slideshow-type UI and get the meta info in the sidebar, Eye of GNOME should be your choice. One of the best for GNOME desktop environment!
How do I install it?
To manually install it on Ubuntu (or Ubuntu-based Linux distros), type in the following command:
sudo apt install eogFor other distros and sources, you should follow the GitHub page.
3. Eye Of MATE Image Viewer
What’s good about it?
- A simple image viewer
- Plugins supported
- An image viewer tailored for MATE desktop environment
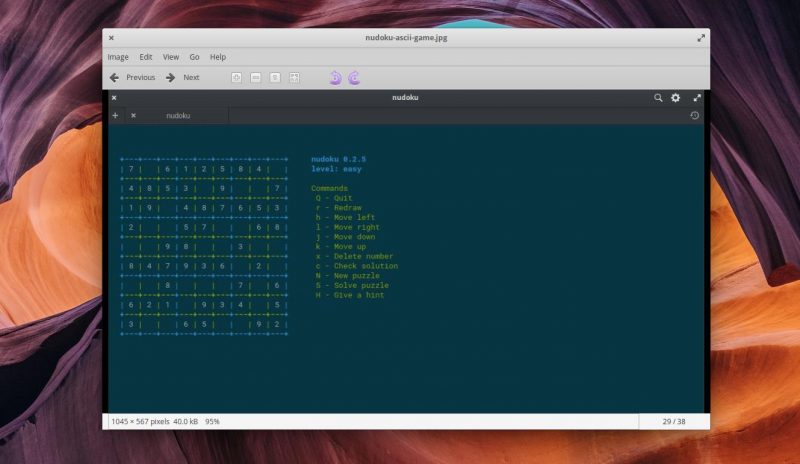
Yet another simple image viewer with the basic functionalities of slideshow view and rotating images.
Even if doesn’t support any image manipulation feature, it does support numerous image file formats and can handle big image files.
How do I install it?
For Ubuntu/Ubuntu-based distros, type in the following command:
sudo apt install eomIf you need help with other distros and the source, follow their GitHub page.
4. Geeqie
What’s good about it?
- A flexible image manager that supports plugins (you’ll find other image viewers supported as well)
- Information about the color profile
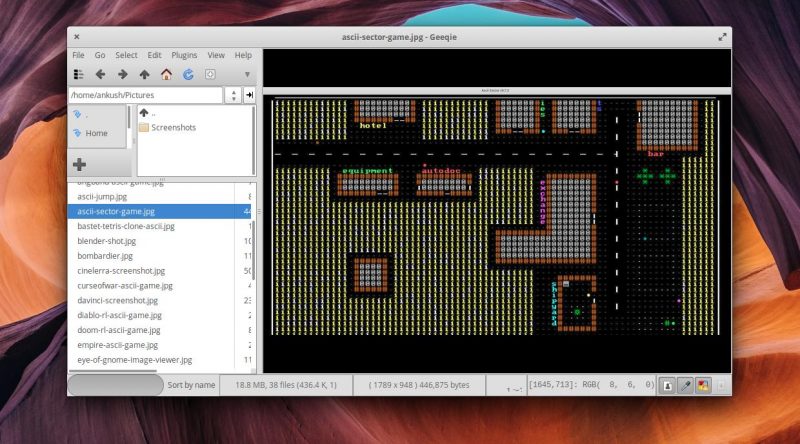
Geeqie is an impressive image manager and viewer. It supports other image viewers as plugins but does not offer any image manipulation tools.
If you need to know the color profile, image info, and manage/view a collection of images. It should be a good choice for that.
How do I install it?
Type in the terminal:
sudo apt install geeqieFor the source, you can refer to the GitHub page.
5. gThumb Image Viewer
What’s good about it?
- An all-in-one image viewer with the ability to manage, edit and view the images
- Reset EXIF orientation
- Convert image formats
- Find duplicate images
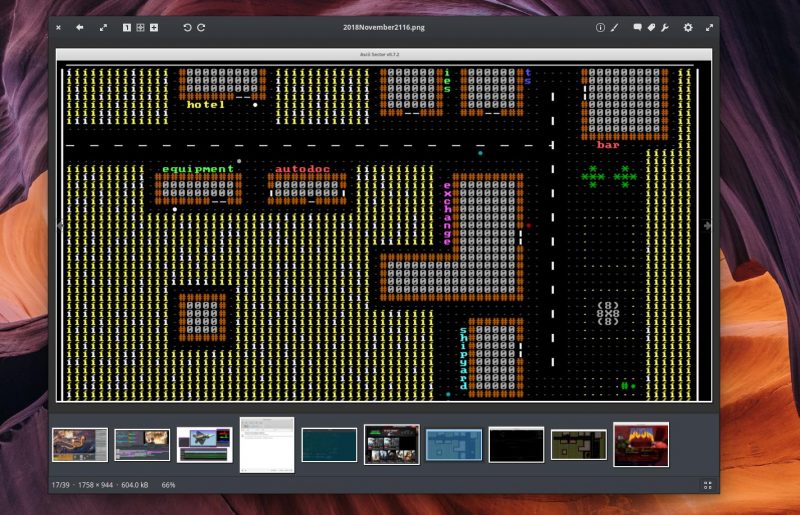
gThumb is an amazing image viewer with a lot of features. You get an impressive user interface to view/manage your images along with the basic image manipulation tools (crop, resize, color, and so on.)
You can also add comments to an image or reset the EXIF orientation info. It also gives you the ability to find duplicate images and convert image formats.
How do I install it?
You can enter this command in the terminal:
sudo apt install gthumbIf that doesn’t work, head to the GitHub page for more info.
6. Gwenview
What’s good about it?
- A basic image viewer with common image manipulation tools to rotate and resize
- Feature extension using KIPI plugins
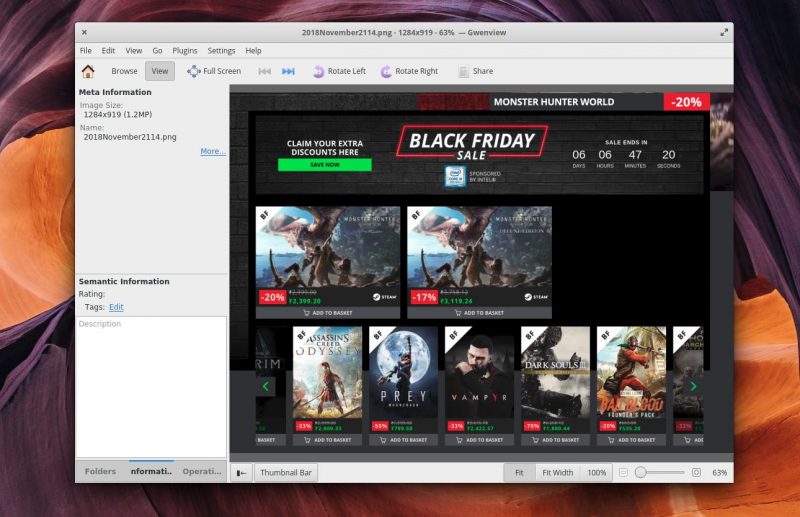
Gwenview is just another basic image viewer tailored for KDE desktop environment. However, you can install it on other desktop environments as well.
If you utilize the Konqueror web browser, you can use it as an embedded image viewer. Here, you can add comments/description to the image as well. In addition, it supports KIPI plugins.
How do I install it?
Type the following in the terminal to install it:
sudo apt install gwenviewFor the source, check out their GitHub page.
7. Loupe
What’s good about it?
- Simple and minimal
- Gesture support for touch/laptop users
- Modern user interface
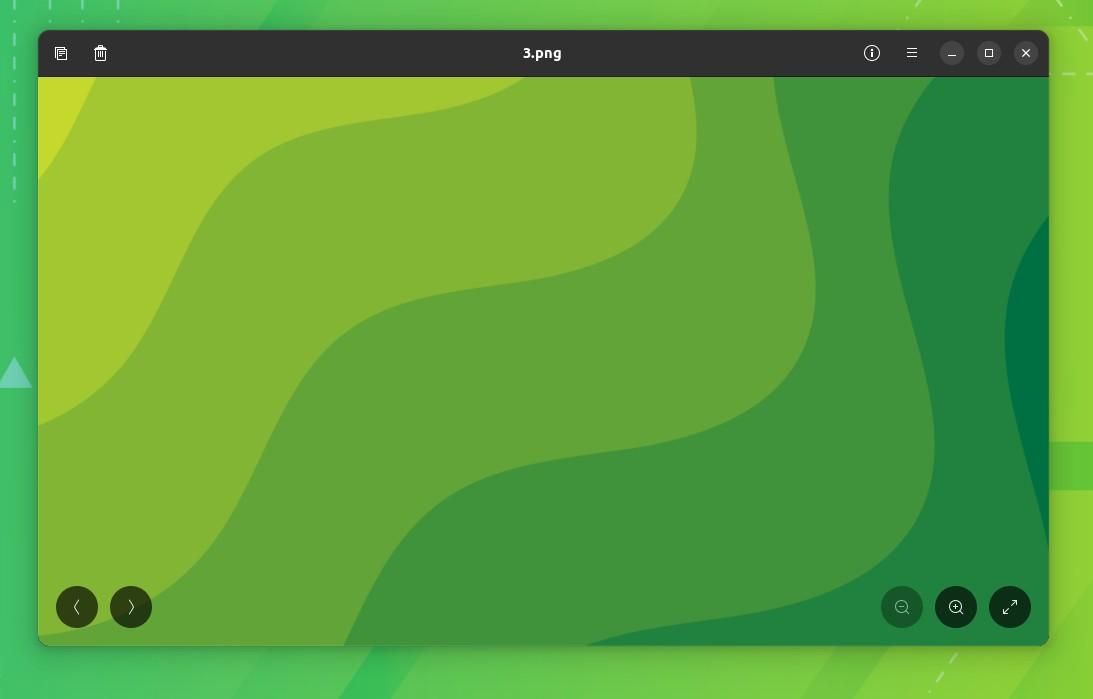
Loupe is a potential successor to the Eye of GNOME app at the time of updating this. It is a straightforward image viewer app with the essentials like metadata view and buttons to navigate images.
How do I install it?
You can set up Flatpak on your system and then type in the following to install it:
flatpak install flathub org.gnome.LoupeFor the source code and other installation instructions, refer to its GitLab page.
8. KPhotoAlbum
What’s good about it?
- Perfect image manager to tag and manage the pictures
- Demo databases
- Image compression
- Merge/Remove images to/from Stack
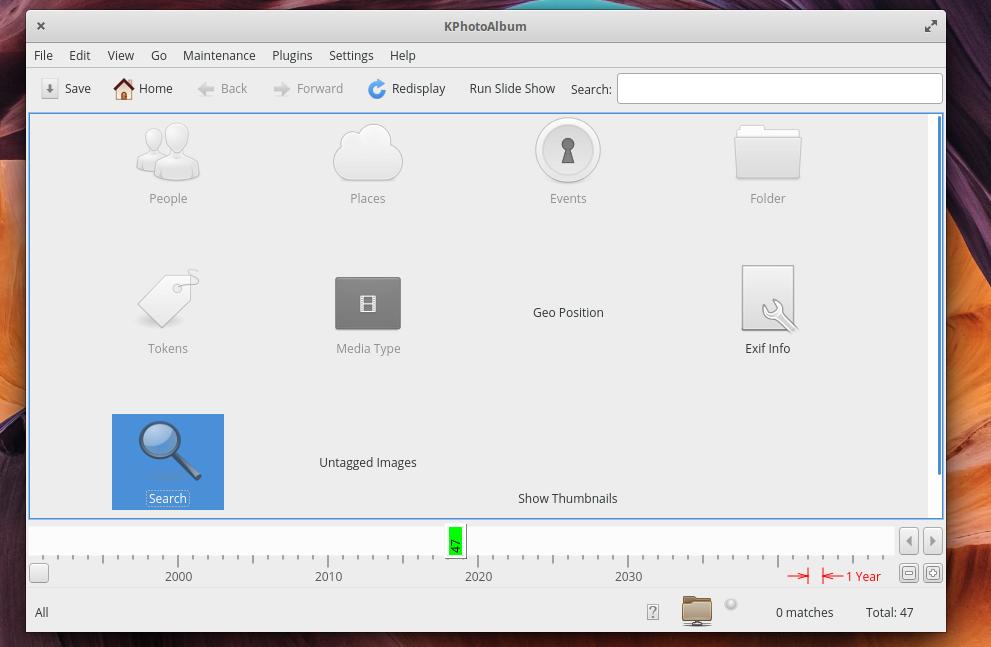
KPhotoAlbum is not exactly a dedicated image viewer but a photo manager to tag and manage the pictures you’ve got.
You can opt for slideshows to view the image along with the ability to compress images and search them using the labels/tags.
How do I install it?
You can install it via the terminal by typing in:
sudo apt install kphotoalbumIn either case, you can check for the official instructions on their website to get it installed on your Linux distro.
9. Shotwell
What’s good about it?
- Red-eye correction tool
- Upload photos to Facebook, Flickr, etc.
- Supports RAW file formats as well
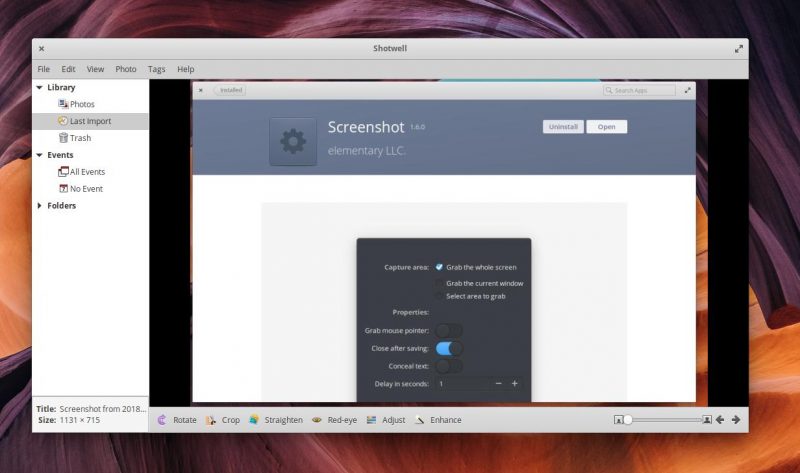
Shotwell is a feature-rich photo manager. You can view and manage your photos. Although you do not get all the basic image manipulation tools baked in it – you can easily crop and enhance your photos in a single click (auto brightness/contrast adjustments).
How do I install it?
Go to the terminal and enter the following (Ubuntu/Ubuntu-based distros):
sudo apt install shotwellFor more information, check out their GitHub page.
10. Ristretto
What’s good about it?
- A dead simple image viewer
- Fullscreen mode & Slideshow
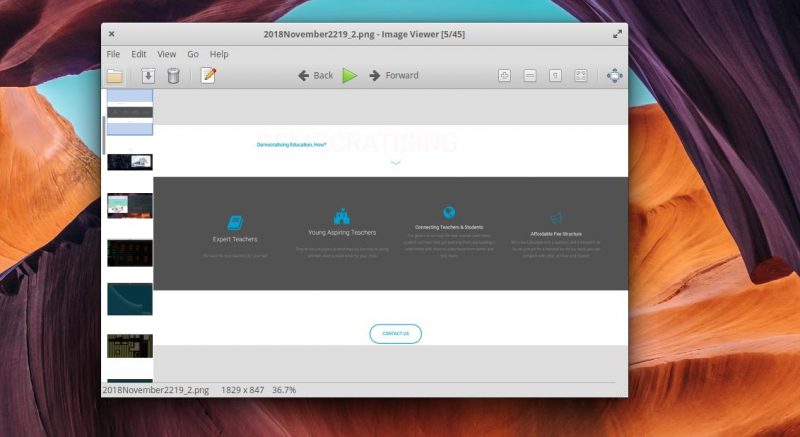
A very straightforward image viewer where you get the ability to zoom, view in fullscreen mode, and view the images as a slideshow.
It is tailored for the Xfce desktop environment – but you can install it anywhere.
How do I install it?
Even though it’s built for Xfce desktop environment, you can install it on any Ubuntu/Ubuntu-based distro by typing the following command in the terminal:
sudo apt install ristretto11. digiKam
What’s good about it?
- An all-in-one image viewer with advanced photo management features (editing/managing/viewing)
- Batch Queue Manager
- Light Table
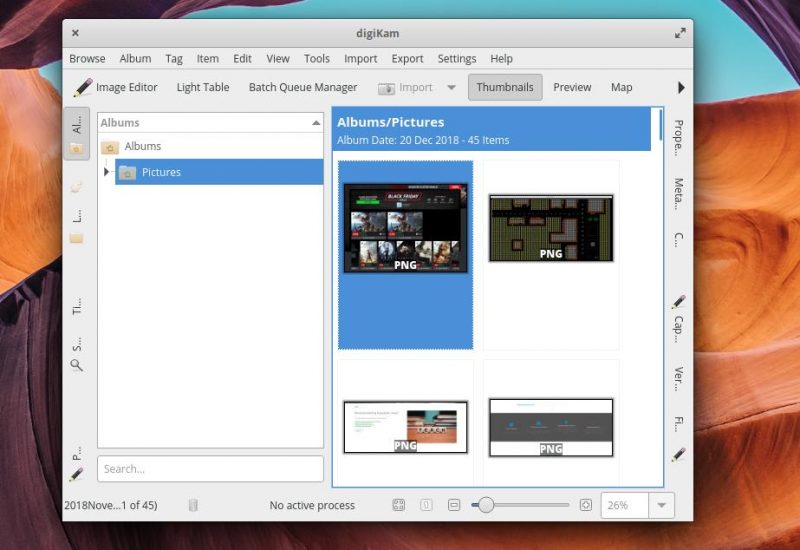
digiKam is an advanced photo manager with some additional image manipulation tools. You get the ability to configure the database using SQLite or MySQL.
To enhance your experience of viewing images, it lets you choose the reduced version of images while you preview them. So, that becomes super fast even if you have a lot of images. You get several import/export options via Google, Facebook, Imgur, and so on. If you want a feature-rich image viewer, this is the one you should have installed.
How do I install it?
Type in the following command:
sudo apt install digikamFor more information, visit their GitHub page.
Wrapping Up
So, whether you want a different user experience or a rich set of features and powerful tools to manage your photos – there’s something for everyone.
💬 Which image viewer do you prefer to use? Is it the system’s default viewer? Let us know in the comments below.

