
The best operating system for the Raspberry Pi is the official Raspberry Pi OS, specially for general purpose desktop usage. It is based on Debian and uses a lightweight Pixel desktop environment.
But as Raspberry Pi devices have gotten more powerful, you can use your favorite Ubuntu desktop on them, specially on the 8 GB RAM models.
This guide will walk you through the process of installing Ubuntu Desktop on a Raspberry Pi.
Which Raspberry Pi devices are supported by Ubuntu?
Ubuntu supports all major Raspberry Pi models:
- Raspberry Pi 5
- Raspberry Pi Zero 2 W
- Raspberry Pi Compute Module 4
- Raspberry Pi 400
- Raspberry Pi 4
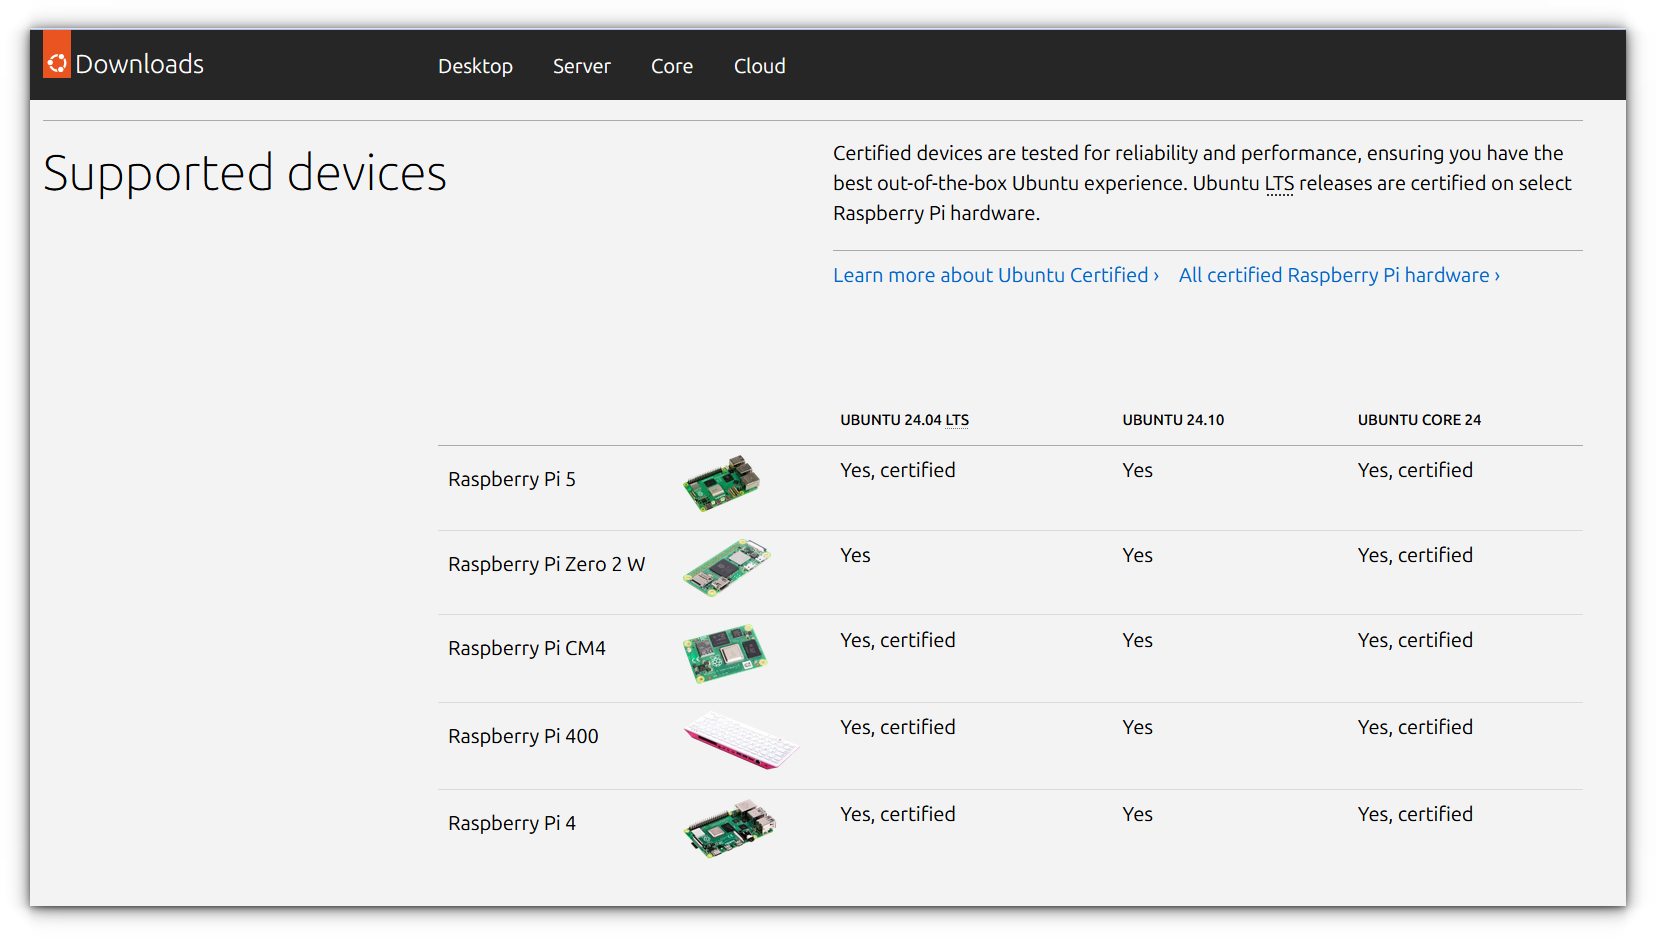
Before Raspberry Pi 4, only the server version of Ubuntu was available for Raspberry Pi. The desktop experience wasn’t officially supported.
But with the increase in hardware power, Ubuntu started offering a fully supported desktop image for the Raspberry Pi, allowing you to run a regular desktop environment with ease.
Prerequisites
To ensure a smooth installation, gather the following materials and equipment:
- A Linux, Windows, or macOS system with an active internet connection.
- Raspberry Pi Imager: The official GUI-based tool for flashing operating systems onto microSD cards.
- MicroSD Card: A minimum of 16 GB, but 32 GB or more is recommended for better performance and storage capacity.
- Micro HDMI to Standard HDMI (A/M) cable (for Pi 4/5)
- Official power supply
- USB keyboard and mouse
Step 1: Preparing the Ubuntu desktop image for Raspberry Pi
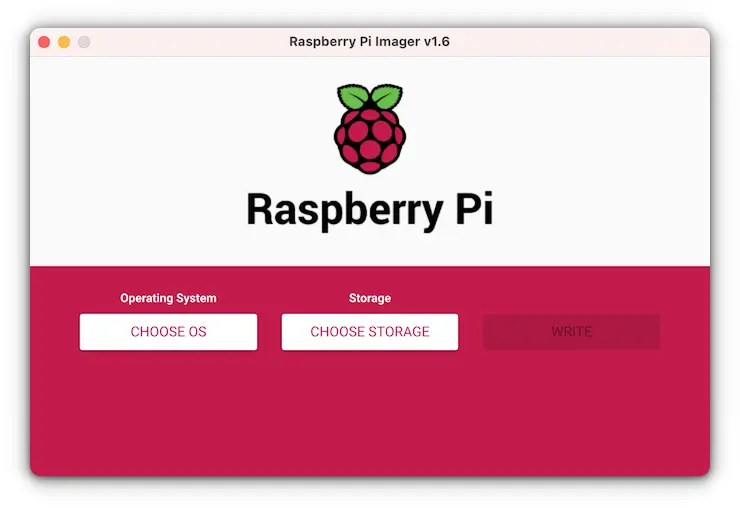
The Raspberry Pi Imager tool simplifies the process of preparing your SD card with the right operating system.
You can download it from the official Raspberry Pi website. It is available for Linux, macOS, and Windows.
Write the Image to the SD Card
- Launch Raspberry Pi Imager. Click on “CHOOSE OS” and select “Other general-purpose OS > Ubuntu”.
- Select the latest Ubuntu Desktop version for your Raspberry Pi 4 or 5. (For Pi 4, this could be Ubuntu Desktop 21.04 or later. For Pi 5, look for the latest available version.)
- Under the storage section, click on “CHOOSE STORAGE” and select your microSD card from the list.
- Click “WRITE” to begin the process. This will flash the Ubuntu Desktop image to the SD card.
Step 2: Booting Ubuntu on Raspberry Pi
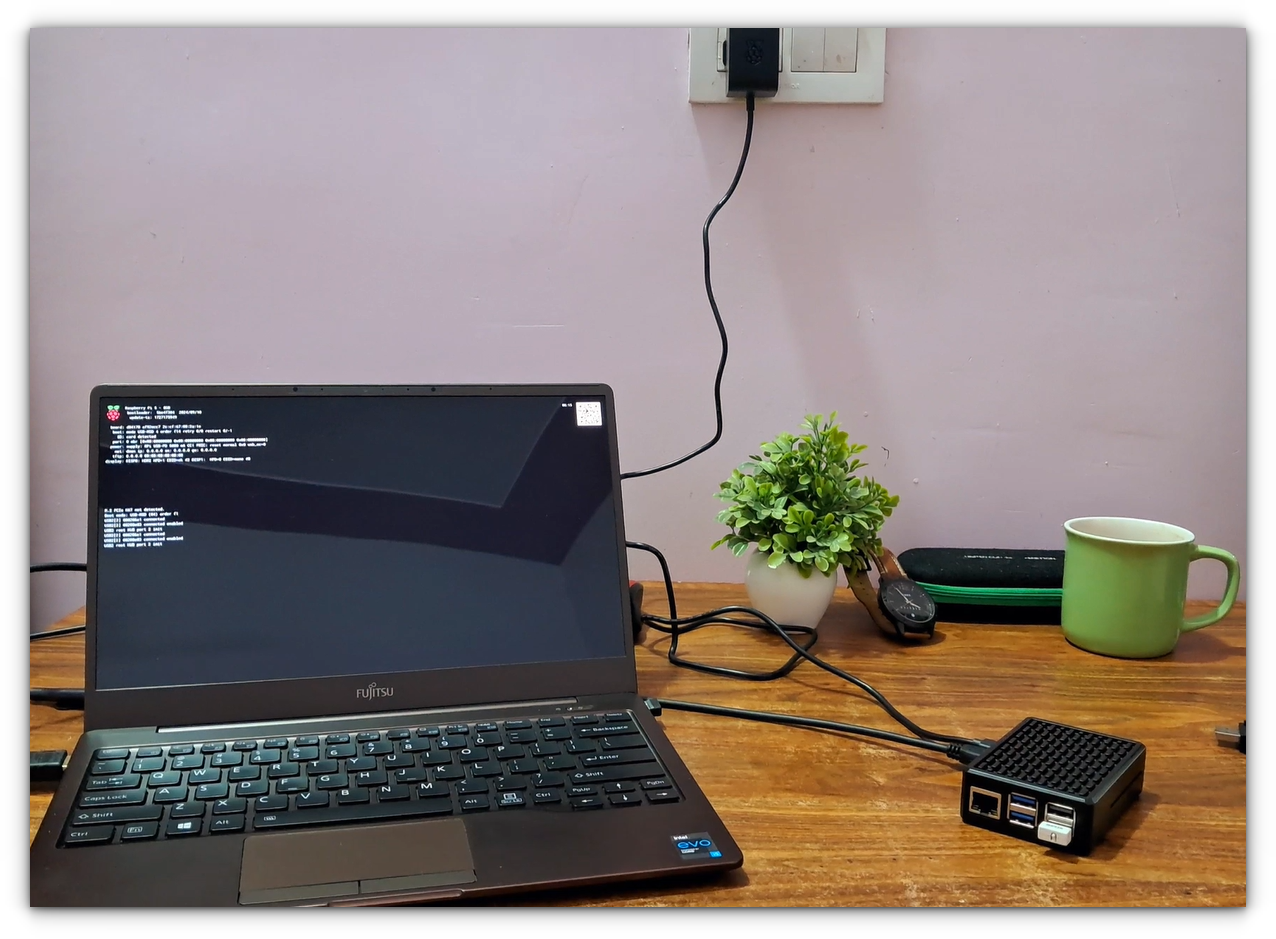
Once the SD card is ready, it’s time to boot up the Raspberry Pi.
- Insert the microSD card into the slot located on the bottom of the Pi board.
- Connect all necessary peripherals: HDMI display, keyboard, mouse, and power supply.
- Power on the Raspberry Pi.
Step 3: Initial Setup of Ubuntu Desktop
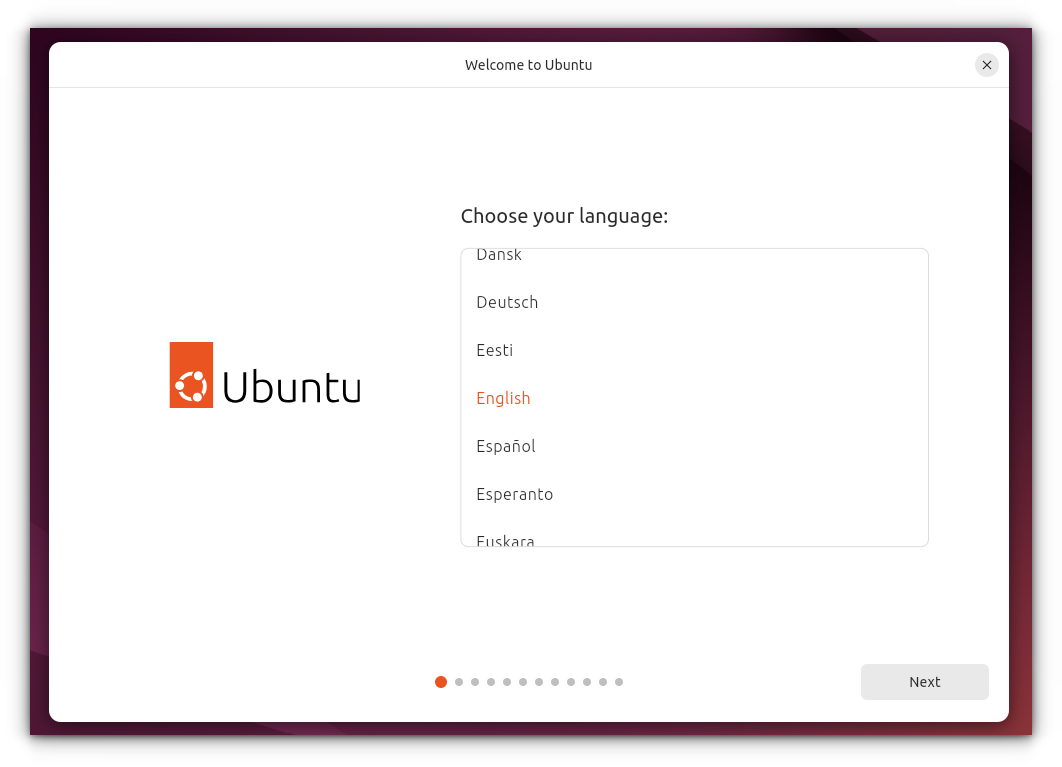
The first boot will take you through the initial setup process:
- Select your language.
- Choose your keyboard layout.
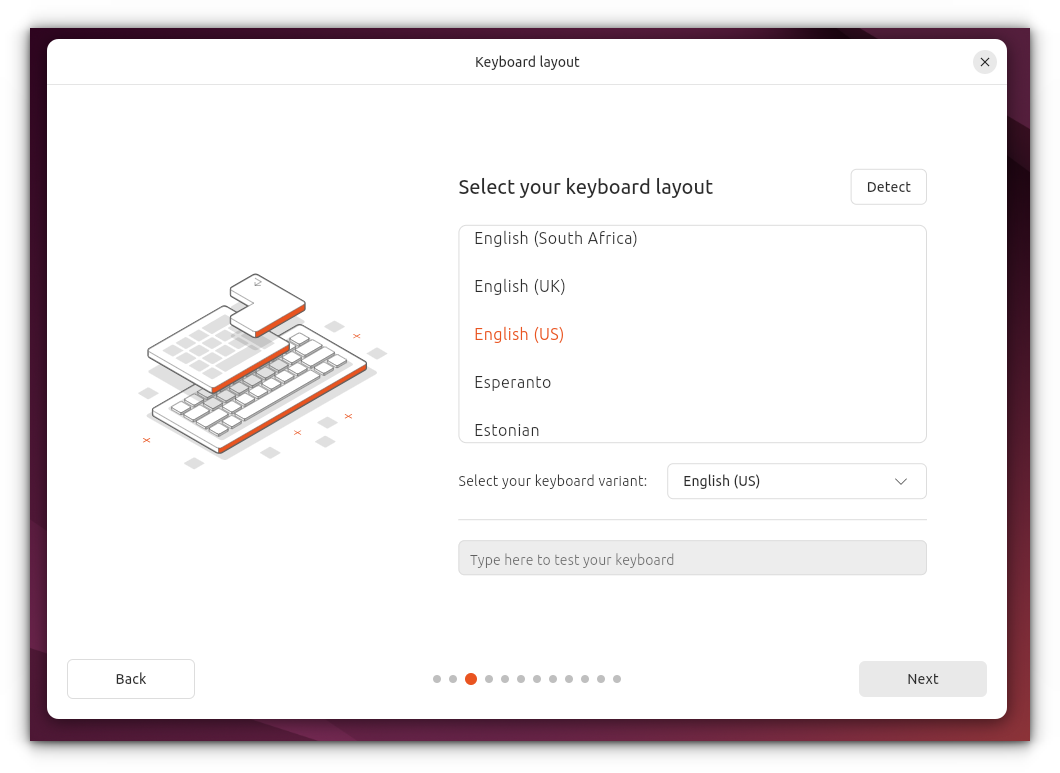
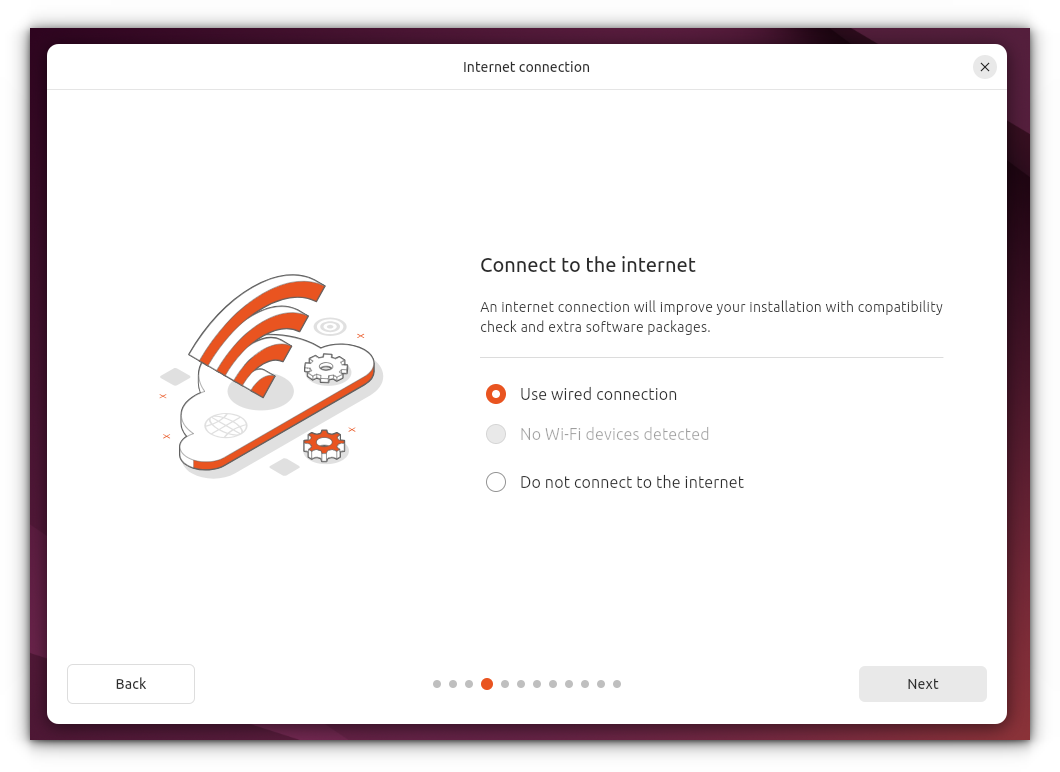
- Connect to Wi-Fi (or configure Ethernet if you prefer).
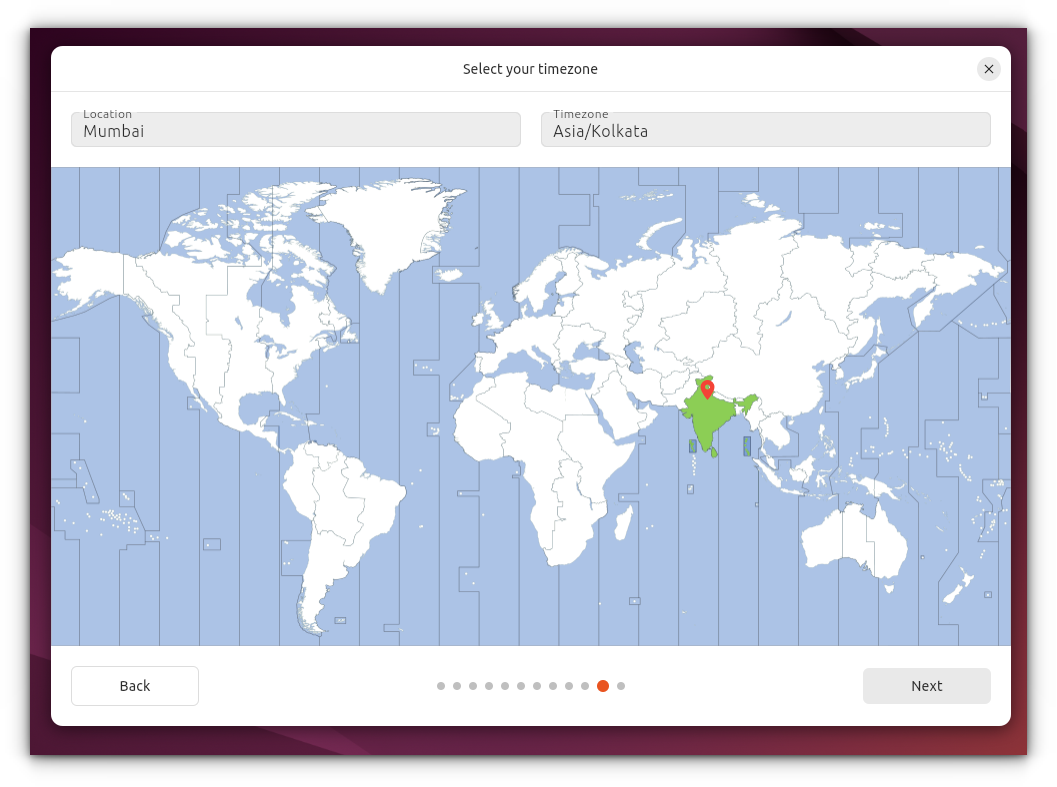
- Set your time zone.
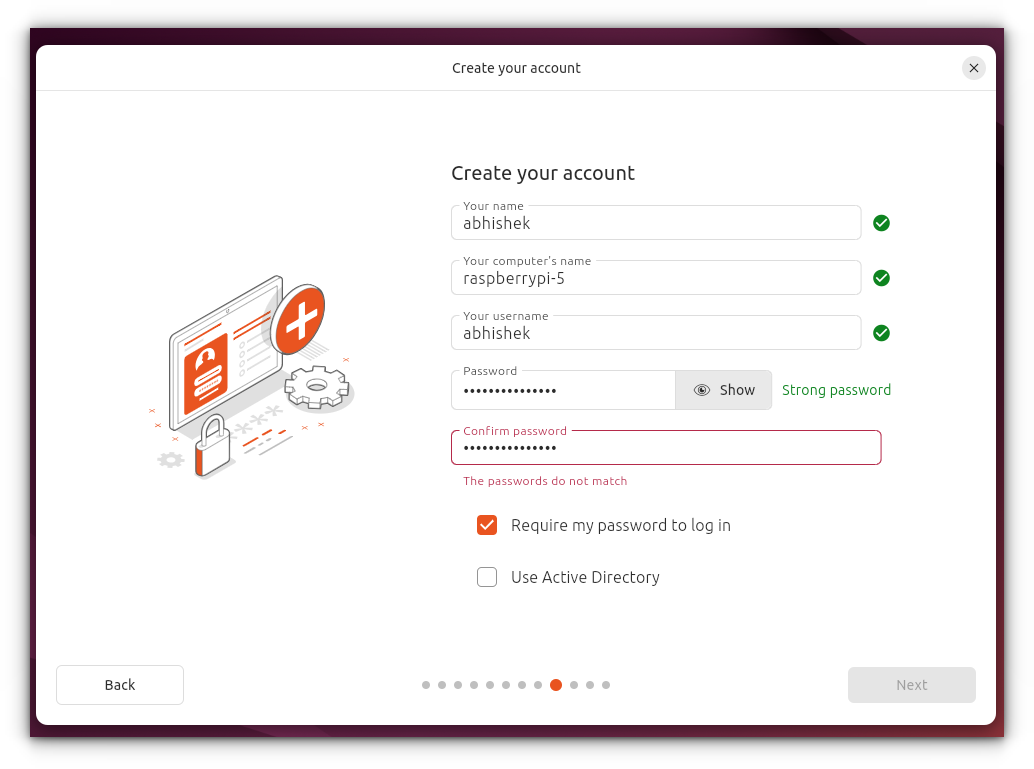
- Create a user account with a username and password.
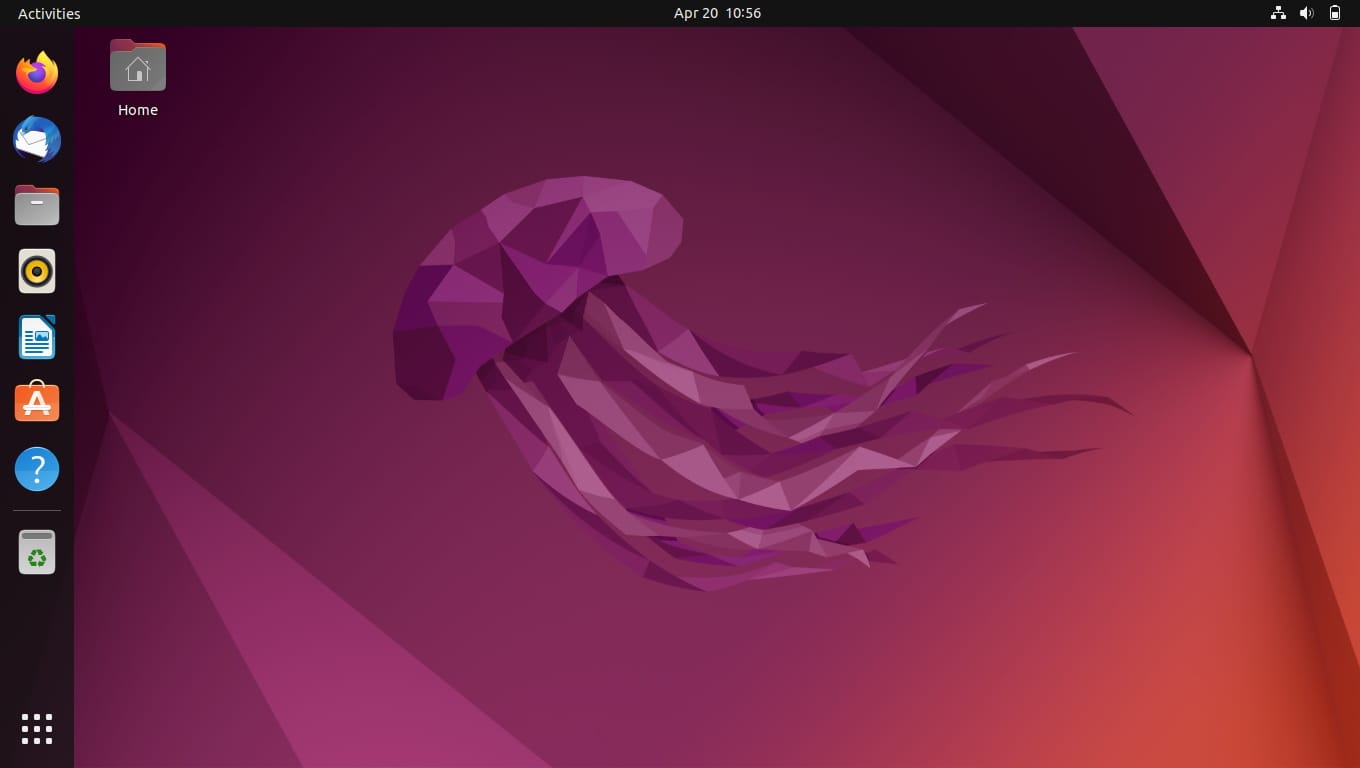
The system will configure itself, and after a short while, your Pi will reboot into the Ubuntu desktop screen.
Tips for optimizing Ubuntu for Raspberry Pi
While Ubuntu Desktop runs well on Raspberry Pi 4 and Pi 5, there are a few tweaks to enhance performance:
- Swap memory: Increase the swap memory to prevent your Pi from running out of RAM during heavy usage. This may lead to decreased lifespan of SD card, though.
- Resolution adjustments: If you notice performance drops, adjusting the display resolution might help.
- Overclocking (Optional): Raspberry Pi 4 and Pi 5 support overclocking, which can improve performance but may reduce system stability. Make sure to back up your data if you decide to overclock.
Conclusion
Ubuntu brings the familiar Linux desktop to your Pi, enhancing the potential for development, learning, and experimentation. Not only it gives you a polished Linux experience, but also lets you access Ubuntu’s vast software library.
If you encounter any issues during installation or need further guidance, feel free to drop your questions in the comments below. Happy experimenting!

