
If you want to use One Drive or Google Drive on Linux natively and effortlessly, you can opt for a popular and useful command-line tool. Many power users will need it.
If you can put some effort into the terminal, you can use Rclone to sync with many cloud storage services on Linux. We have a detailed guide on using Rclone for syncing with OneDrive in Linux.
Rclone is a popular and useful command-line tool. Many power users will need it for its features.
However, not everyone is comfortable using it from the terminal, even if it’s useful enough.
So, in this article, I’ll talk about an impressive GUI, “Rclone Browser” that makes it easy to manage and sync your data on cloud storage using Rclone.
It is also worth noting that Rclone does offer an experimental web-based GUI — but we are going to focus on Rclone Browser here.
Rclone Browser: An open-source GUI for Rclone
Rclone Browser is a GUI that lets you browse, modify, upload/download, list files, and do a lot more when you want to make the most of managing a remote storage location.
It offers a simple user interface and works just fine (as per my quick test). Let’s take a detailed look at its features and how to get started using it.
Features of Rclone Browser
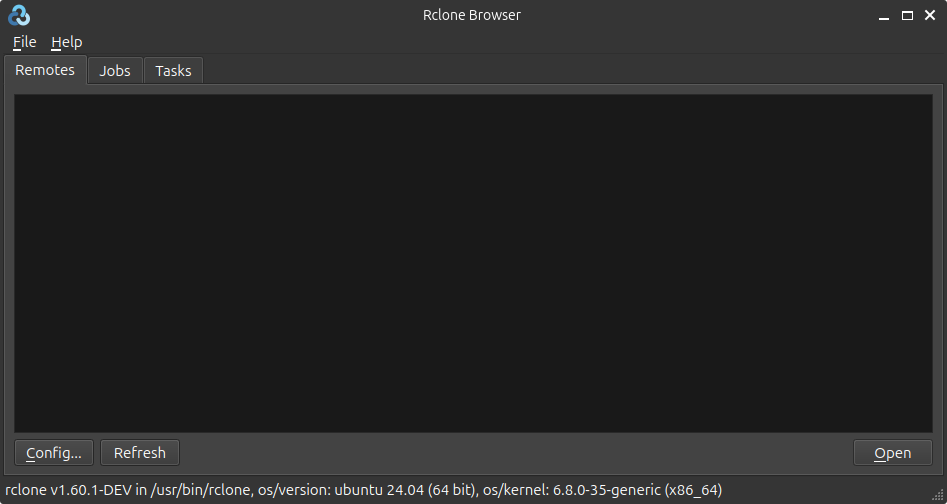
It offers a lot of options and controls to manage remote storage locations. You may find it feature-rich or overwhelming, depending on your use-case. Here they are:
- Browse and modify rclone remote storage locations
- Encrypted cloud storage supported
- Custom location and encryption for configuration supported
- No extra configuration required. It will use the same rclone configuration files (if you have any).
- Simultaneous navigation of multiple locations in separate tabs
- List files hierarchically (by file name, size, and modified date)
- Rclone commands are executed asynchronously without the GUI freezing
- You get the ability to upload, download, create new folders, rename, delete files and folders
- Drag and drop support for dragging files while uploading
- Streaming media files in player like VLC
- Mount and unmount folders/cloud drives
- Ability to calculate size of folder, export list of files, and copy rclone commands to clipboard
- Supports portable mode
- Supports shared drivers (if you’re using Google Drive)
- Gives you the ability to have public link sharing option for remote storage services that offers it
- Ability to create tasks that you can easily save to run it again or edit it later
- Dark mode
- Cross-platform support (Windows, macOS, and Linux)
Installing Rclone Browser on Linux
You need to have rclone installed on your Linux distribution before you use Rclone Browser.
Rclone Browser is available in the default repositories of many Linux distributions. You can install it in Ubuntu using the command:
sudo apt install rclone-browser
This installs may install an older version of Rclone Browser. Similarly, Debian, Fedora, etc. also ship this tool in their repositories. Arch Linux users can install it from AUR.
Follow the official installation instructions to do that.
In addition to these, you will find an AppImage file available for Rclone Browser from the releases section of its GitHub page. So, you shouldn’t have an issue running it on any Linux distribution.
If you didn’t know about AppImage, I recommend reading our guide to using AppImage on Linux.
You can also choose to build it as well. The instructions to do that is in the GitHub page.
Getting started with Rclone Browser
Here, I’ll just share a few things that you should know to get started using Rclone Browser.
If you have any existing remote locations using rclone in the terminal, it will automatically show up in the GUI. You can also hit the “Refresh” button to get the latest additions.
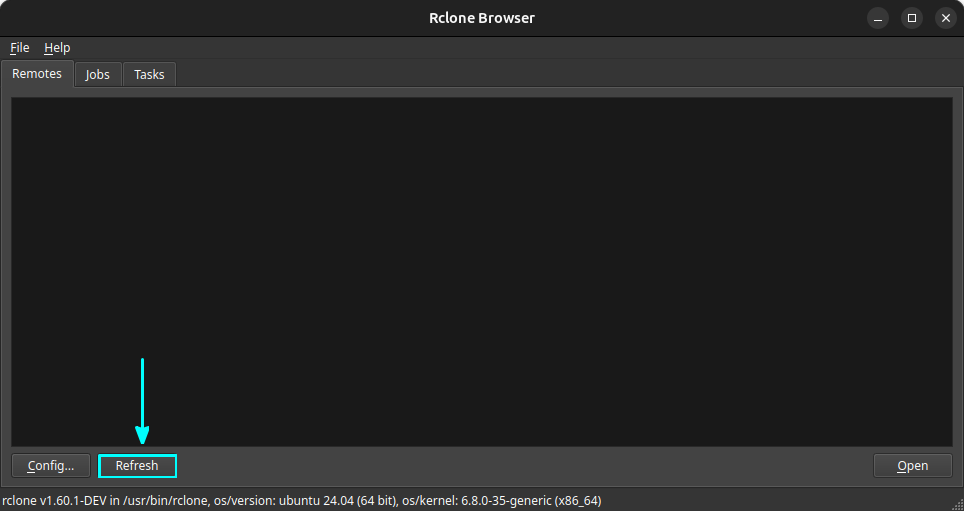
Now, let’s see how you can add a new drive. Here, we will show an example using a pCloud drive. First, click on the “Config” button on the bottom-left. This will launch a terminal, that lets you easily add a new remote or configure it as you want.
Don’t worry, when the terminal pops up, Rclone browser executes the commands to do all the necessary tasks. You just have to set up or edit only a few things when needed. You don’t need to execute any Rclone commands.
The text-based commands are straightforward to follow. First, click on n to create a new remote. Next, it will ask to name the Drive. Name it pCloud Drive.
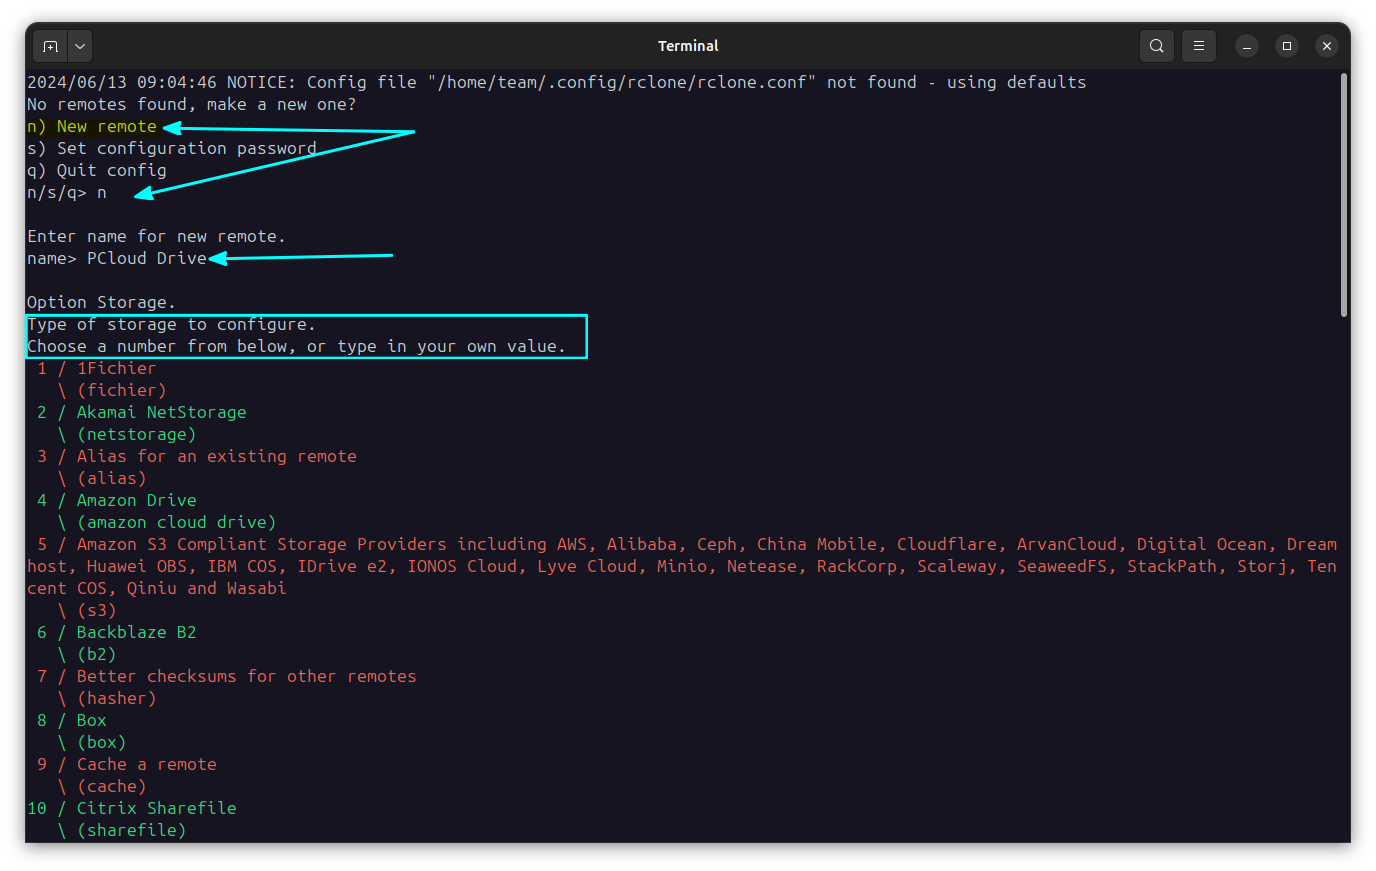
This will take you to the storage selection prompt. You will be given a long list of storage platforms that are supported along with a number. Scroll and find your required service and type the number corresponding to it.
For pCloud, it is 33. The next step varies according to the remote you want to create. In this case, we accepted the default values for the entries.
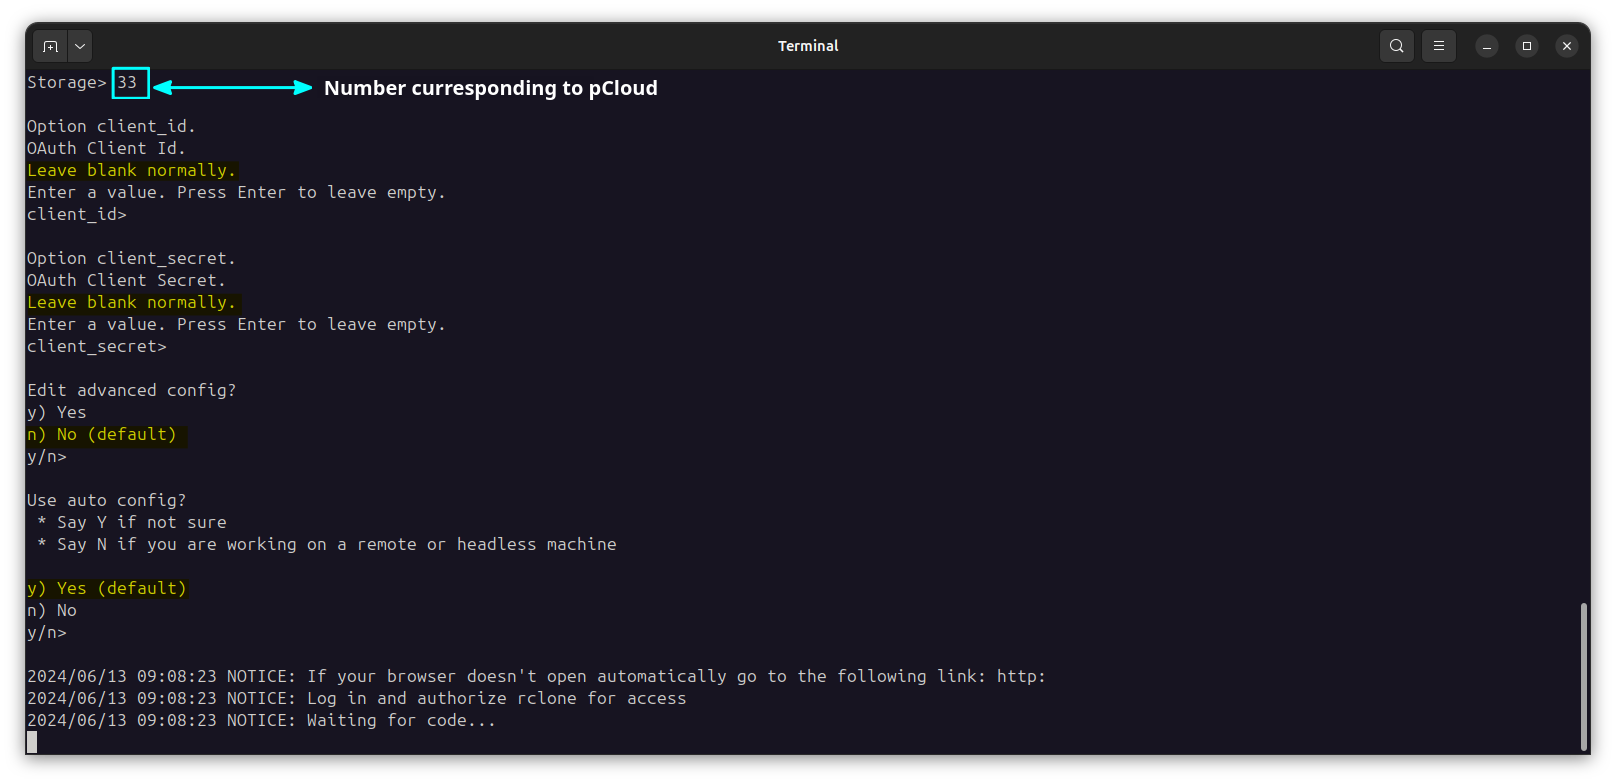
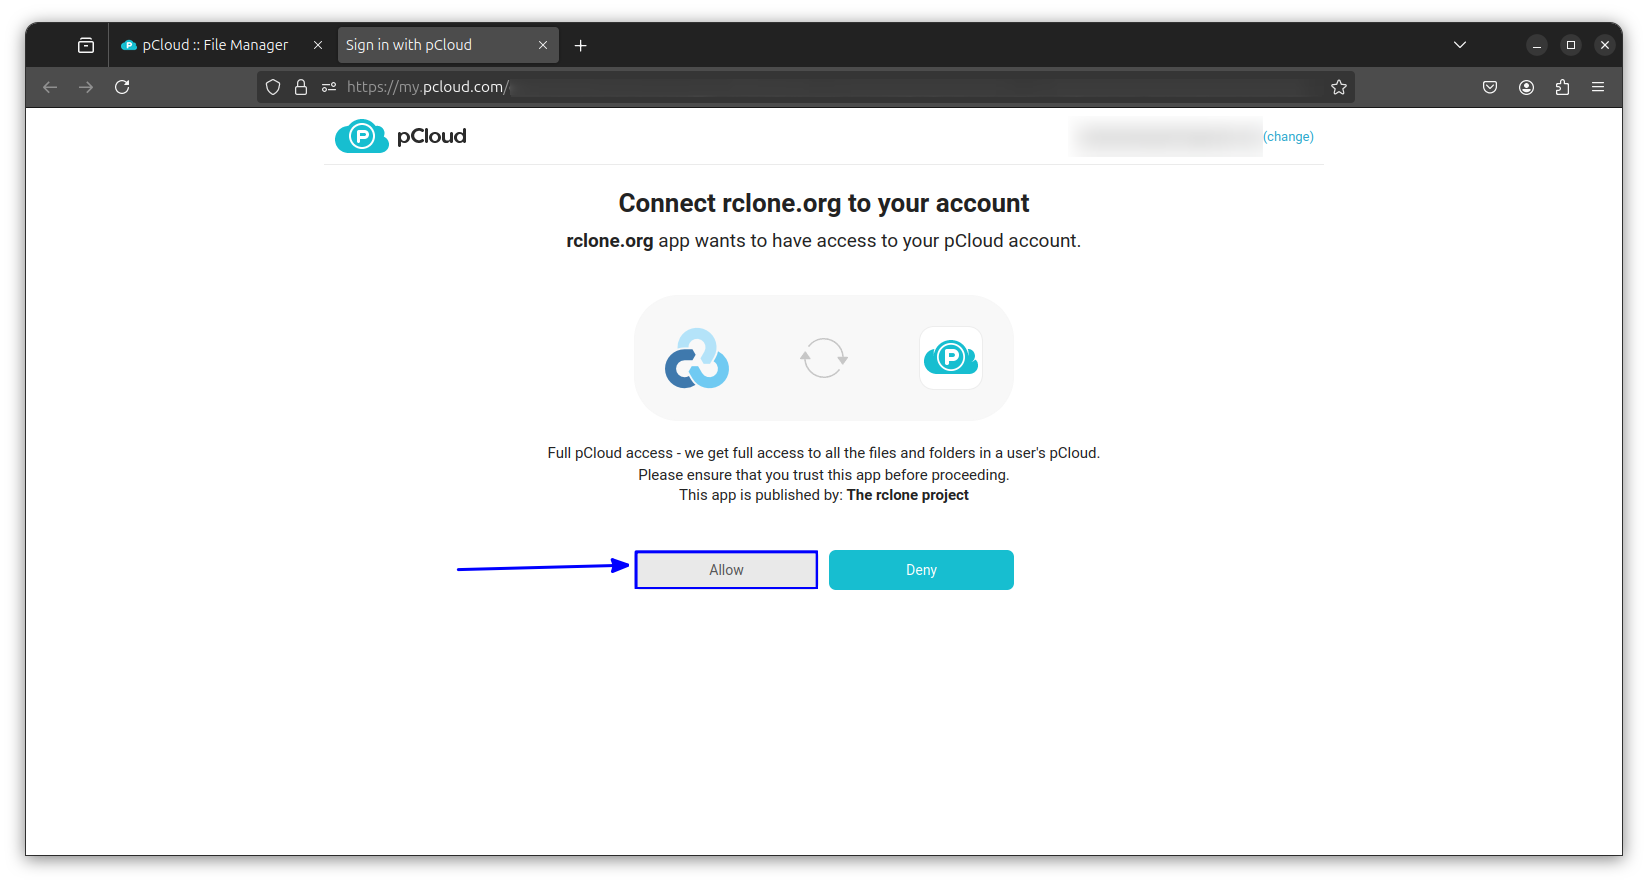
At some point, it will ask you to authenticate through the web browser. Most of the time, a browser tab will be opened on your default browser. Just click Allow to approve Rclone access pCloud drive.
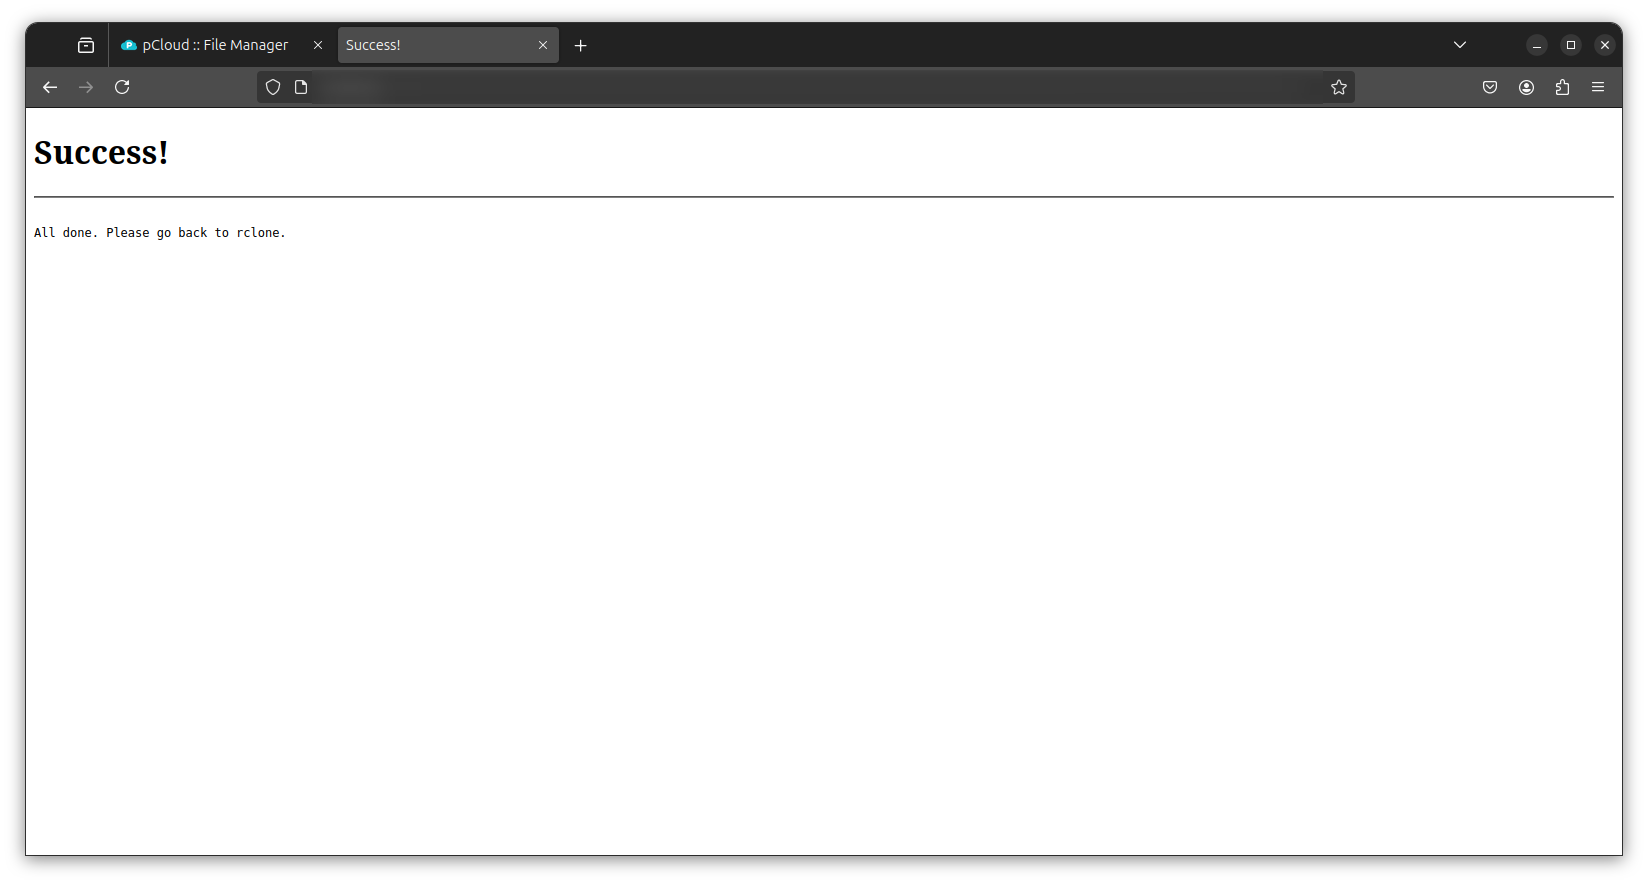
This will give you a success message. You can close the browser and return to Rclone browser.
Most probably, you can quit the configuration by pressing the q key.
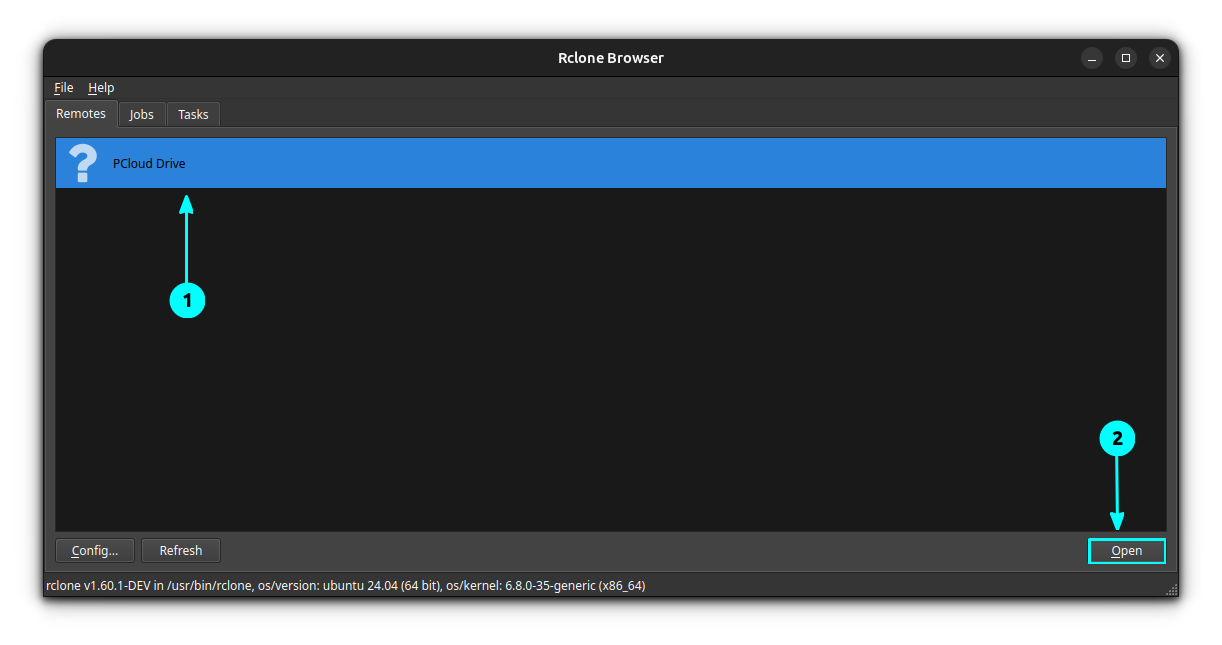
To open pCloud in Rclone browser, select pCloud and click on the open button in the bottom-right corner.
This will open the drive, and you can perform a variety of actions here.
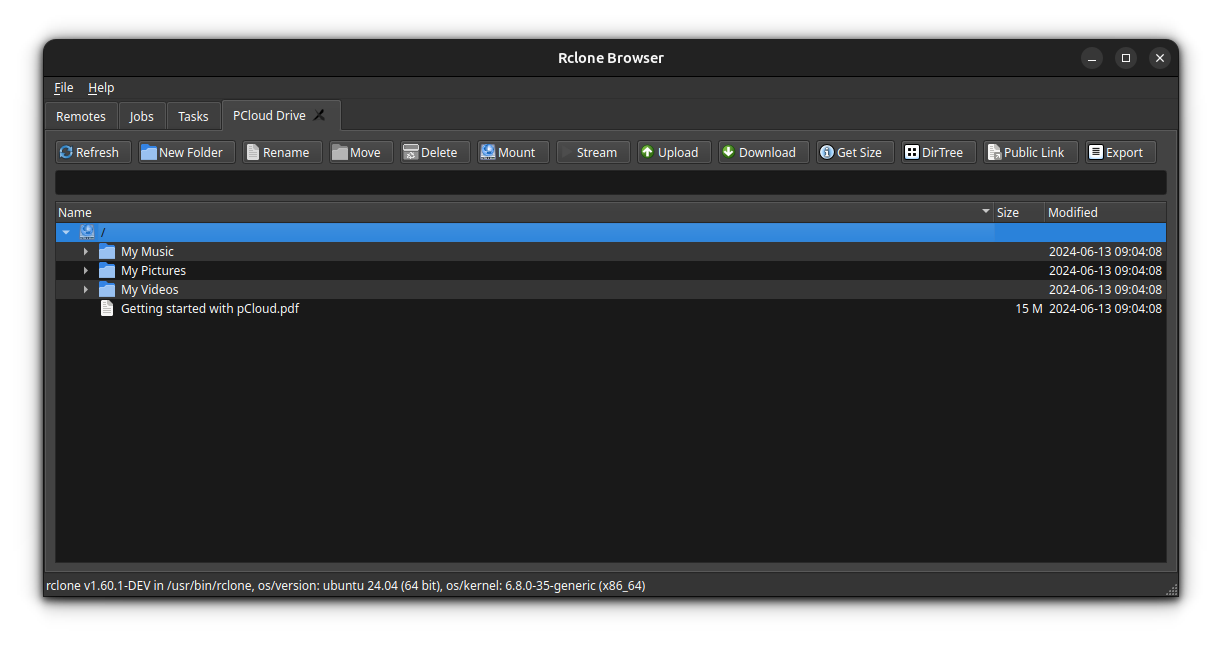
You can easily mount the cloud drive, upload/download files, get the details, share a public link for a folder (if supported), and directly stream media files as well.
If you want to copy, move, or sync data with a remote storage location, you can simply create a task to do it. Buttons like Upload, Download, etc., provide an option to add as a task.
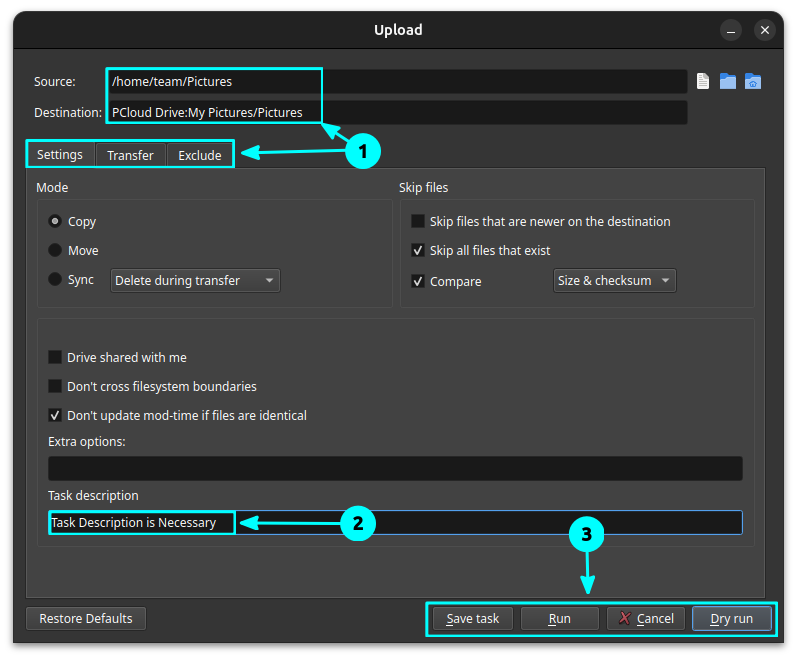
Just to make sure that you have the right settings, you can perform a dry run or go ahead with running the task. Or save the task to run frequently in the future.
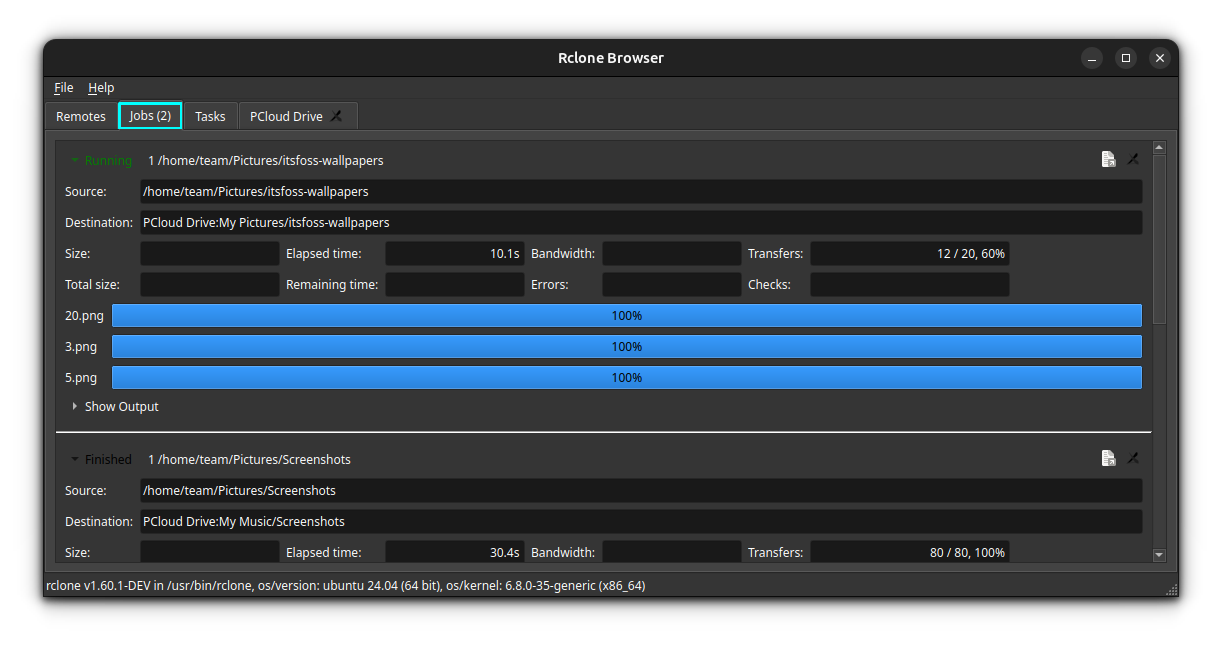
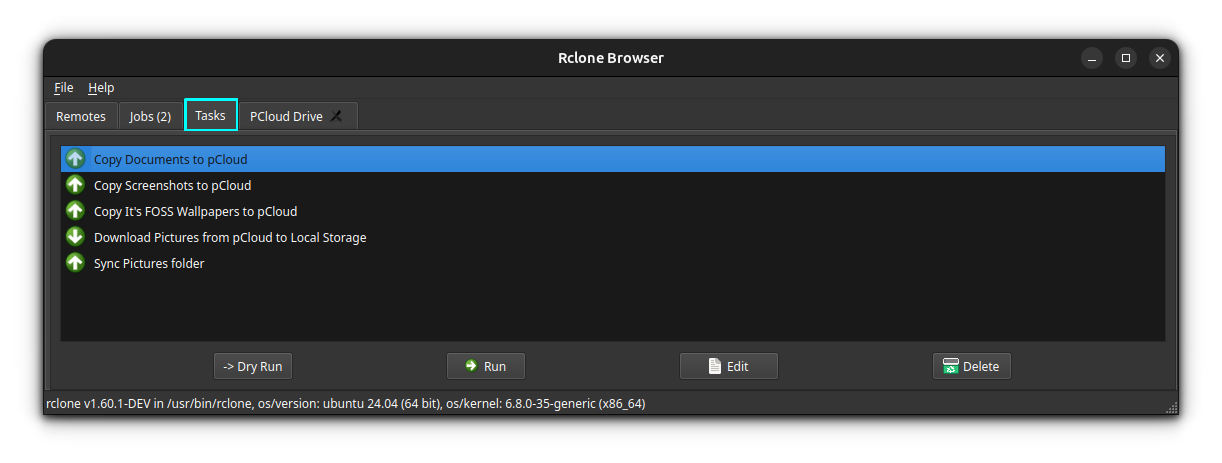
As you can see in the above screenshot, all the running tasks can be found under the “Jobs” section, and you can cancel/stop them if needed.
Similarly, all the tasks that you have created are visible in the Tasks section.
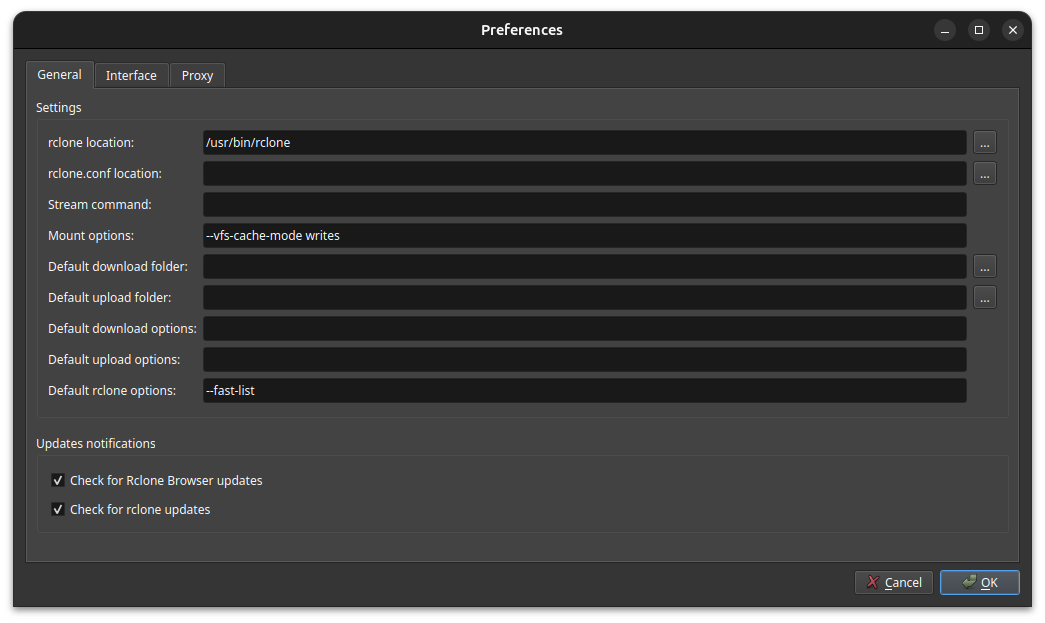
In addition to all the basic functionalities mentioned above, you can just head to File → Preferences to change the rclone location, mount option, download folder, bandwidth settings, and proxy as well.
To learn more about its usage and features, you might want to check out the GitHub page for all the technical information.
Wrapping Up
If you are searching for a cloud service that provides free storage, check these out.

Rclone Browser should definitely come in handy for every Linux user looking to use Rclone for its powerful features.
Have you tried it yet? Do you prefer using the GUI or the terminal for using rclone? Let me know your thoughts in the comments below!


