What is FTP?
FTP is an acronym for File Transfer Protocol. As the name suggests, FTP is used to transfer files between computers on a network. You can use FTP to exchange files between computer accounts, transfer files between an account and a desktop computer, or access online software archives. Keep in mind, however, that many FTP sites are heavily used and require several attempts before connecting.
An FTP address looks a lot like an HTTP or website address except it uses the prefix ftp:// instead of http://.
What is FTP Server? How to set it up?
Typically, a computer with an FTP address is dedicated to receiving an FTP connection. A computer dedicated to receiving an FTP connection is referred to as an FTP server or FTP site.
Now, let’s begin a special adventure. We will make an FTP server to share files with friends and family. I will use vsftpd for this purpose.
VSFTPD is an FTP server software which claims to be the most secure FTP software. In fact, the first two letters in VSFTPD, stand for “very secure”. The software was built around the vulnerabilities of the FTP protocol.
Step 1: Installing VSFTPD in Linux
You can quickly install VSFTPD on your Fedora/Red Hat/SUSE servers through the command line interface with:
dnf -y install vsftpd
If you are using Ubuntu/Debian-based distributions, you can install VSFTPD using this command:
sudo apt install vsftpd
If you are using Arch-based distributions, try this command for installing VSFTPD.
sudo pacman -S vsftpd
Step 2: Enable firewall and allow incoming connections
This is an important step, not only for VSFTPD but for any other service that uses incoming connection, you should allow it through the firewall.
Ubuntu uses UFW as the default firewall service. So check whether it is running or not using the command:
sudo ufw status
If the firewall is not enabled, you will get an Inactive status as shown below.

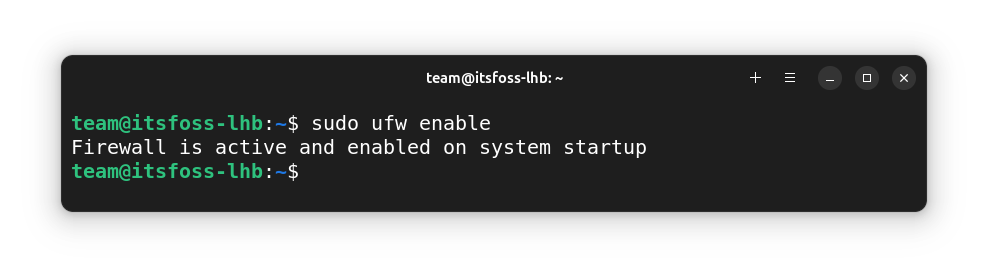
To enable the firewall, use the command:
sudo ufw enable
This will activate the Firewall.
Here, when you use the verbose option to get the details
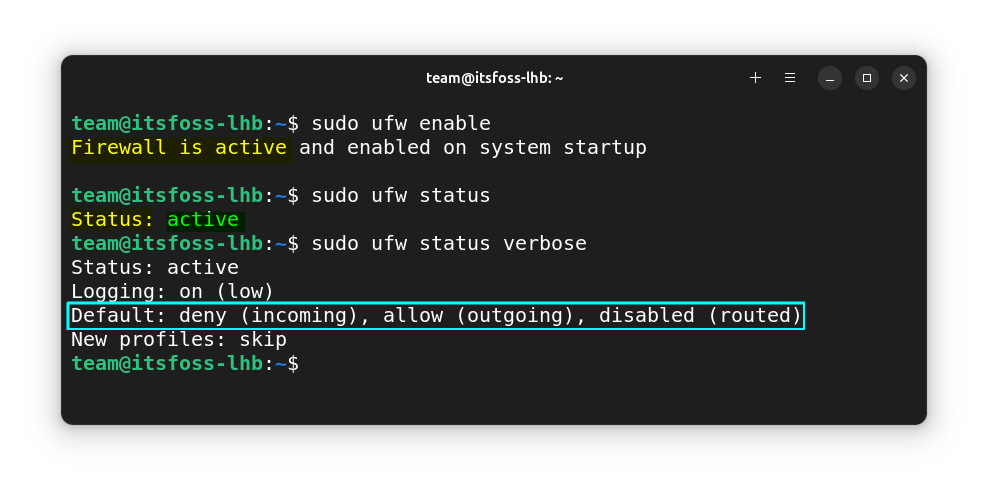
Here, you can see that the incoming connections are rejected while outgoing connections are allowed. These are the default rules in UFW.
In layman's terms, services use various ports in the system to communicate. With the default rules, all the incoming ports are closed (deny (incoming) policy) so, you won’t be able to run services that need to connect to ports on your system.
You need to allow some essential services to access their necessary ports to run smoothly.
On Ubuntu, openssh-client package was installed, which is used to connect to other machines, but not openssh-server So, you need to install openssh-server package to handle connections from other machines.
sudo apt install openssh-server
sudo systemctl enable ssh
Otherwise, if you try to allow OpenSSH, you will get an error while allowing OpenSSH in UFW.
sudo ufw allow OpenSSH
sudo ufw allow 20/tcp
sudo ufw allow 21/tcp
sudo ufw allow 990/tcp
sudo ufw allow 40000:50000/tcp
The above command allows the required services to use their required ports, by going through the firewall. Let’s see what the command means:
OpenSSH allows you to connect through SSH.20/tcpand21/tcpare used for the FTP traffic.- Port no
990will come to play when you'd enable the SSL certificates for better security. - Port no
40000to50000are reserved for the passive ports and will be configured through the config file.
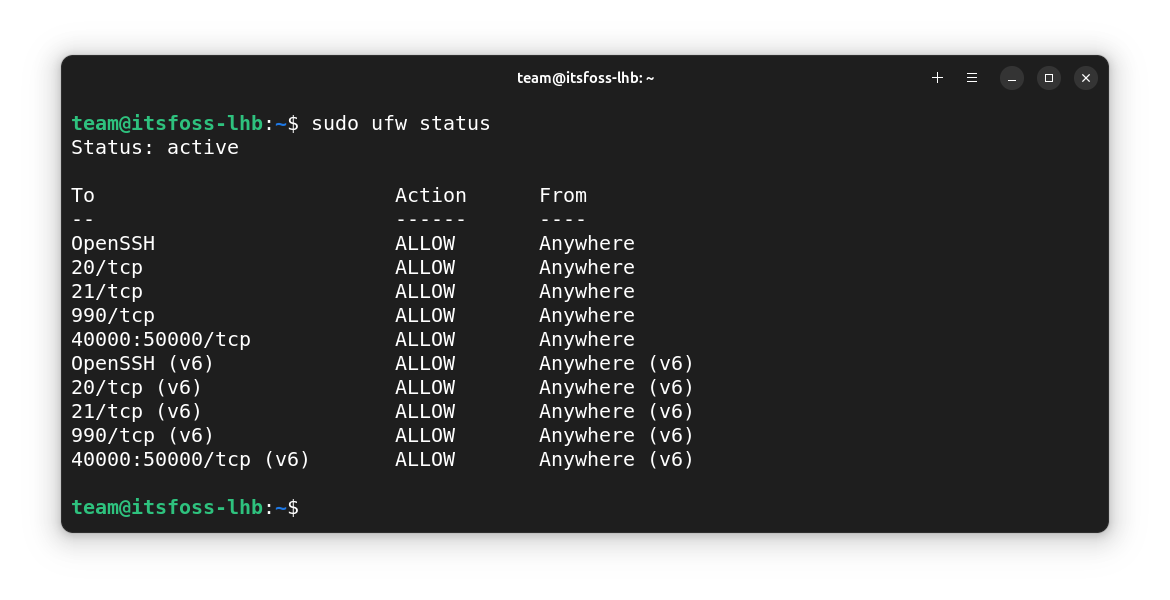
Now, when you check the status, you can see these specified ports are allowed, and the rest are allowed as per the default rule.
Step 2: Create a new user for FTP
It is advised to create a user for the purpose of FTP, especially if you are testing the FTP service beforehand. Here, we are considering a multiuser system, with several users having access to the shell.
Let’s create one user using:
sudo adduser ftpuser
It will interactively ask for details like password. Enter those and create the new user.
Now, the home directory of this user will be /home/ftpuser. Here, we use the chroot concept. That means, for the duration of chroot, a directory specified by us will act as the root directory, effectively disallowing the user to go to a directory ahead of the one specified.
Let’s create an ftp folder for chroot (temporary root).
sudo mkdir /home/ftpuser/ftpOnce the directory is created, let’s change the ownership permission of the ftp directory in such a way that the user cannot make any changes (write permission) to the directory. This is required for the proper functioning of VSFTPD.
sudo chown nobody:nogroup /home/ftpuser/ftpnobody and group nogroup are used in Unix-like systems to restrict user access.We have restricted the access to this directory. Now, we need to make the ftp directory unwritable for the user. So, to remove the write permission run the command:
sudo chmod a-w /home/ftpuser/ftp
Let’s create a directory called files to save files, inside the ftp directory.
sudo mkdir /home/ftpuser/ftp/files
Change the ownership of the files directory to the user you created for FTP, in this case, ftpuser:
sudo chown ftpuser:ftpuser /home/ftpuser/ftp/files
It’s time to test the setup by creating a test file inside the files directory.
echo "vsftpd sample file" | sudo tee /home/ftpuser/ftp/files/sample.txt
Step 3: Common VSFTPD configuration settings in detail
Most VSFTPD’s configuration takes place in /etc/vsftpd.conf. The file itself is well-documented, so this section only highlights some important changes you may want to make.
sudo cp /etc/vsftpd.conf /etc/vsftpd.conf.bakFor all available options and basic documentation, see the man pages:
man vsftpd.conf
Files are served by default from /srv/ftp as per the Filesystem Hierarchy Standard.
The following sections will take you through essential parts of VSFTPD configuration.
Enable uploading to the FTP server
The “write_enable” flag must be set to YES to allow changes to the filesystem, such as uploading:
write_enable=YES
Allow local users to login
To allow users in /etc/passwd to login, the “local_enable” directive must look like this:
local_enable=YESAnonymous login
The following lines control whether anonymous users can log in.
anonymous_enable=NOOther possible settings can be:
# No password is required for an anonymous login (Optional)
no_anon_password=YES
# Maximum transfer rate for an anonymous client in Bytes/second (Optional)
anon_max_rate=30000
# Directory to be used for an anonymous login (Optional)
anon_root=/example/directory/
These should be done only if you are sure about the needs.
Chroot Jail further configuration
On the configuration file, you need to enable chroot local user. This is to confine users to their home directory and not allow further going up.
chroot_local_user=YES
This prevents the user from leaving his home directory. Other settings may include:
chroot_list_enable=YES
chroot_list_file=/etc/vsftpd.chroot_list
The “chroot_list_file” variable specifies the file in which the jailed users are contained to.
Step 4: A Sample Configuration
For those who are not going through the entire vsftpd.conf file, you can enable a basic set of configuration to make everything work.
First, open the vsftpd.conf file for editing in your favorite text editor.
sudo nano /etc/vsftpd.conf
Now, scroll down the entire config page and verify that the values are set like following:
anonymous_enable=NO
local_enable=YES
write_enable=YES
chroot_local_user=YES
user_sub_token=$USER
local_root=/home/$USER/ftp
pasv_min_port=40000
pasv_max_port=50000
userlist_enable=YES
userlist_file=/etc/vsftpd.userlist
userlist_deny=NO
Save the file. Now, in the configuration, we have added userlist_file as /etc/vsftpd.userlist. This file is used to restrict FTP access to only the users mentioned here. So, we need to add users to this file so that they can access FTP.
echo "ftpuser" | sudo tee -a /etc/vsftpd.userlist
Step 5: Restart your FTP server
In the end, you must restart your ftp server. Type in your command line:
sudo systemctl restart vsftpd
That’s it. Your FTP server on Linux is up and running. FTP is increasingly being replaced by FTP over SSH protocol, so you may want to set up an SFTP server on Linux.

Step 6: Secure FTP using SSL certificate (optional)
FTP by default does not have encryption. So for secure file transfer, you need to add SSL certificates to make FTP more secure. Let’s see what’s the process.
Before you start, you need to make sure openssl is installed because you will be creating keys using OpenSSL.
openssl version
If it is installed, it's time to create a new key.
sudo openssl req -x509 -nodes -days 365 -newkey rsa:2048 -keyout /etc/ssl/private/vsftpd.pem -out /etc/ssl/private/vsftpd.pem
Let’s see what the command’s contents mean:
X.509 Certificate
A Secure communication certificate, provided by some trusted 3rd party organizations, called Certificate Authority. This certificate contains details such as the name, email address and public key of the certificate holder. It also contains the information about the Certificate Authority, that issued the certificate and a digital signature to verify the authenticity of the certificate. It is used on Websites (to ensure encrypted communication between client and website), VPNs, code signing etc. We will be asked to enter this detail when we run the above command.
PEM
PEM stands for Privacy-Enhanced Mail, but it has become a common file format for various types of cryptographic objects. In the context of cryptography, PEM refers to a format used to store and transmit data such as digital certificates, private keys, and public keys.
Now, in the VSFTPD config file, add the path to the SSL certification.
sudo nano /etc/vsftpd.conf
In the config file, find out the lines starting with rsa_cert_file and rsa_private_key_file.
Now, modify the variables value with our certificate and private key path.
rsa_cert_file=/etc/ssl/private/vsftpd.pem
rsa_private_key_file=/etc/ssl/private/vsftpd.pem
Enable the SSL by changing the value of ssl_enable.
ssl_enable=YES
Before finishing off, you need to set several security settings in the config file.
- Make sure to block anonymous connections over SSL
- Server will use TSL (Transport Layer Security)
- Disable SSL reuse to prevent crashes
- Use cipher suits that are equal to or higher than 128 bits
You should make the values for the following variables as shown below:
#Block anonymous connections
allow_anon_ssl=NO
force_local_data_ssl=YES
force_local_logins_ssl=YES

#Configure server to use TLS
ssl_tlsv1=YES
ssl_sslv2=NO
ssl_sslv3=NO

#Disable reuse
require_ssl_reuse=NO

#Make cipher lenght high
ssl_ciphers=HIGH
Save the file and you are done with configurations.
Once all set, restart the vsftpd service to make changes in effect.
sudo systemctl restart vsftpdStep 7: Connect to the FTP Server
You have now set up an FTP server with no anonymous user access. To access the FTP, on a terminal, run the command:
ftp <ip address>Now, log in with a user who is on the FTP users list.
It is recommended to use some clients that offer encryption services, like FileZilla.
You have successfully set up your FTP server. Now, it is time to use some clients like FileZilla. The guide below will make you familiar with FileZilla.
 Pratham Patel
I hope you find this tutorial helpful in setting up a FTP server. Let me know if you have questions.
Tutorial revised by Sreenath.